Skip to content




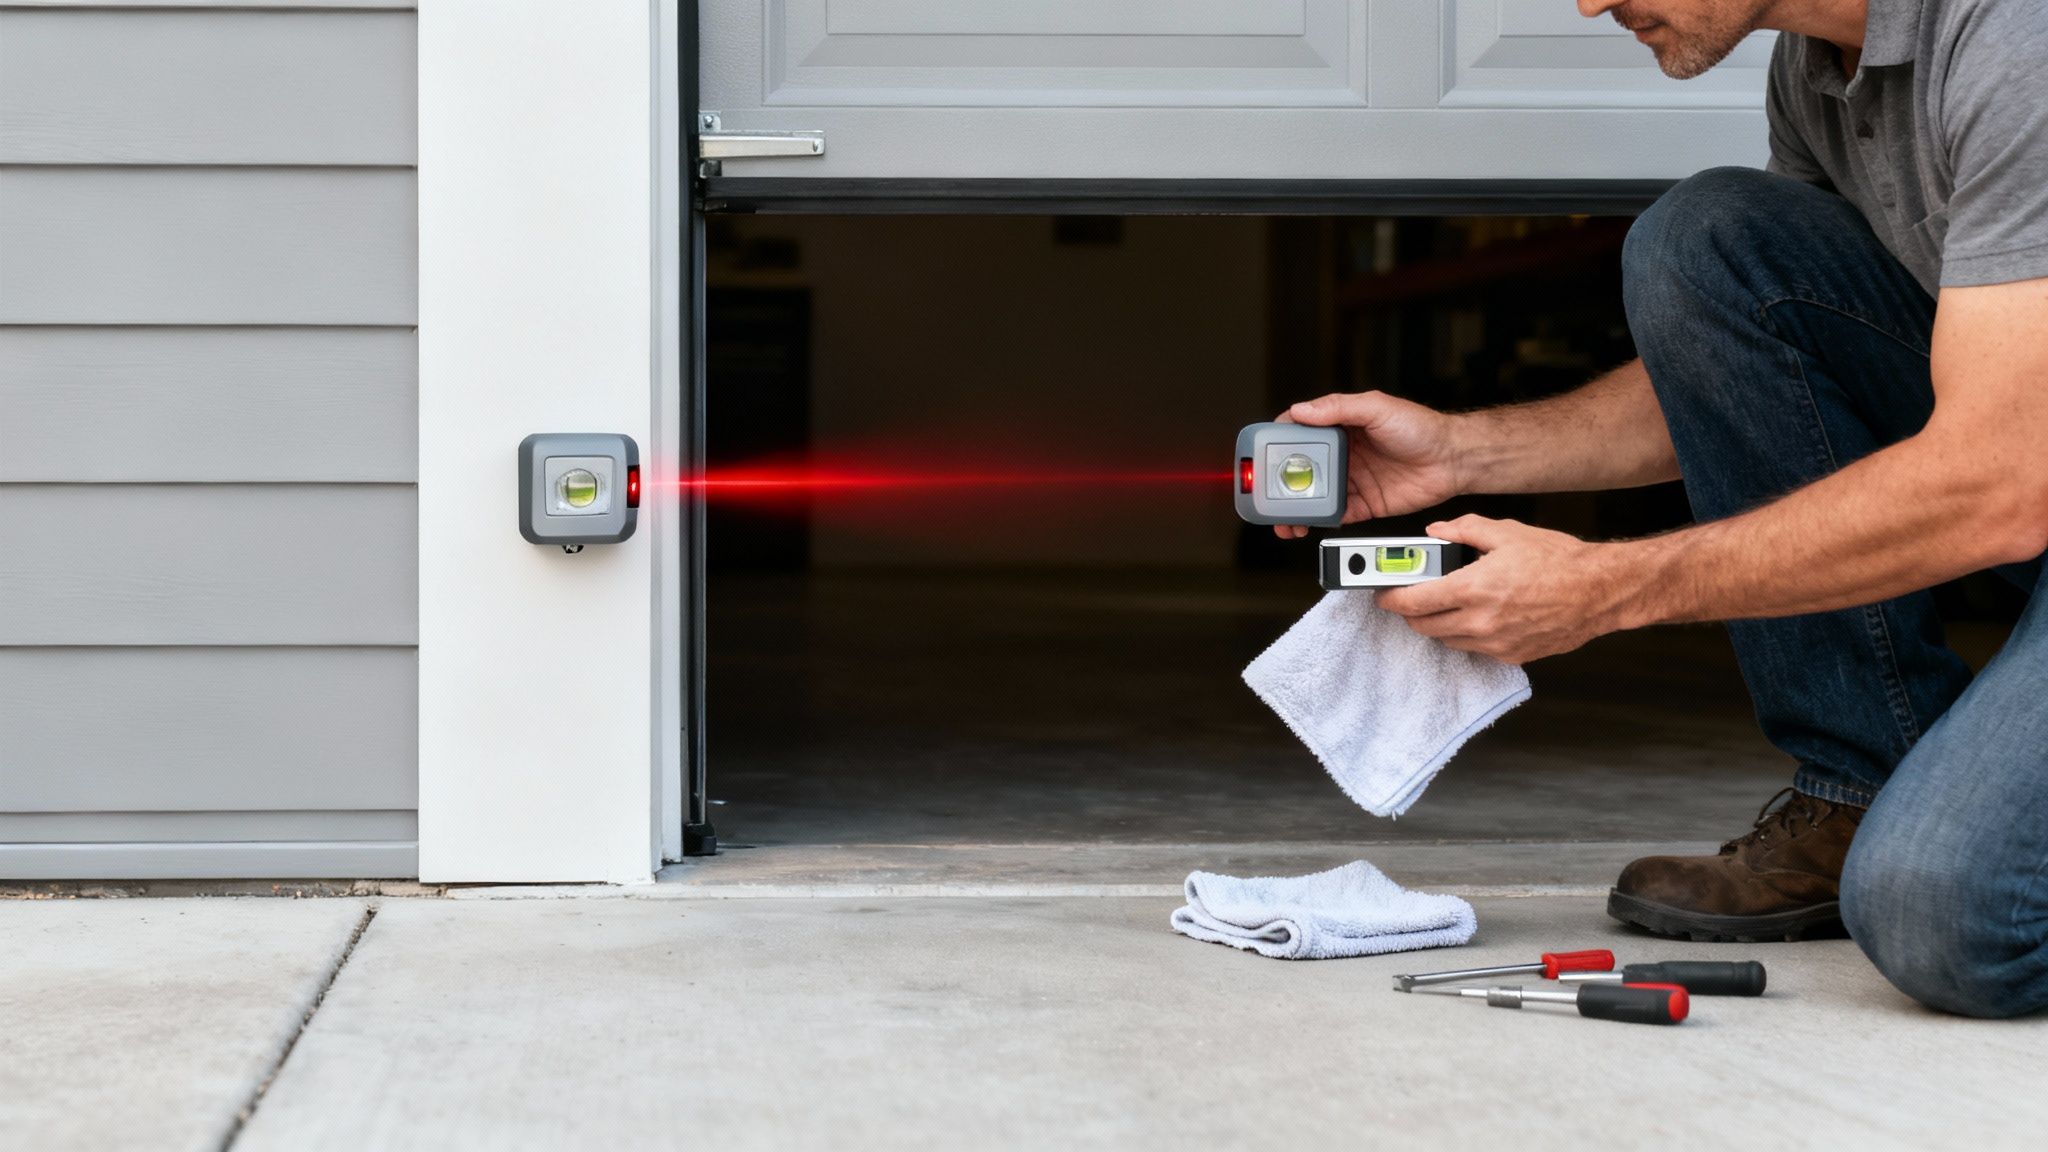
It’s a frustratingly common garage door problem: you hit the button, the door starts to close, and then—for no good reason—it stops and reverses. Your first thought might be a big, expensive motor issue, but nine times out of ten, the real culprit is much simpler: your safety sensors are out of alignment.
Good news! This is usually a quick fix that involves wiping the sensor lenses, gently loosening a bracket, and making tiny adjustments until the little LED lights on both sensors are glowing steadily.
Why Your Garage Door Suddenly Won't Close
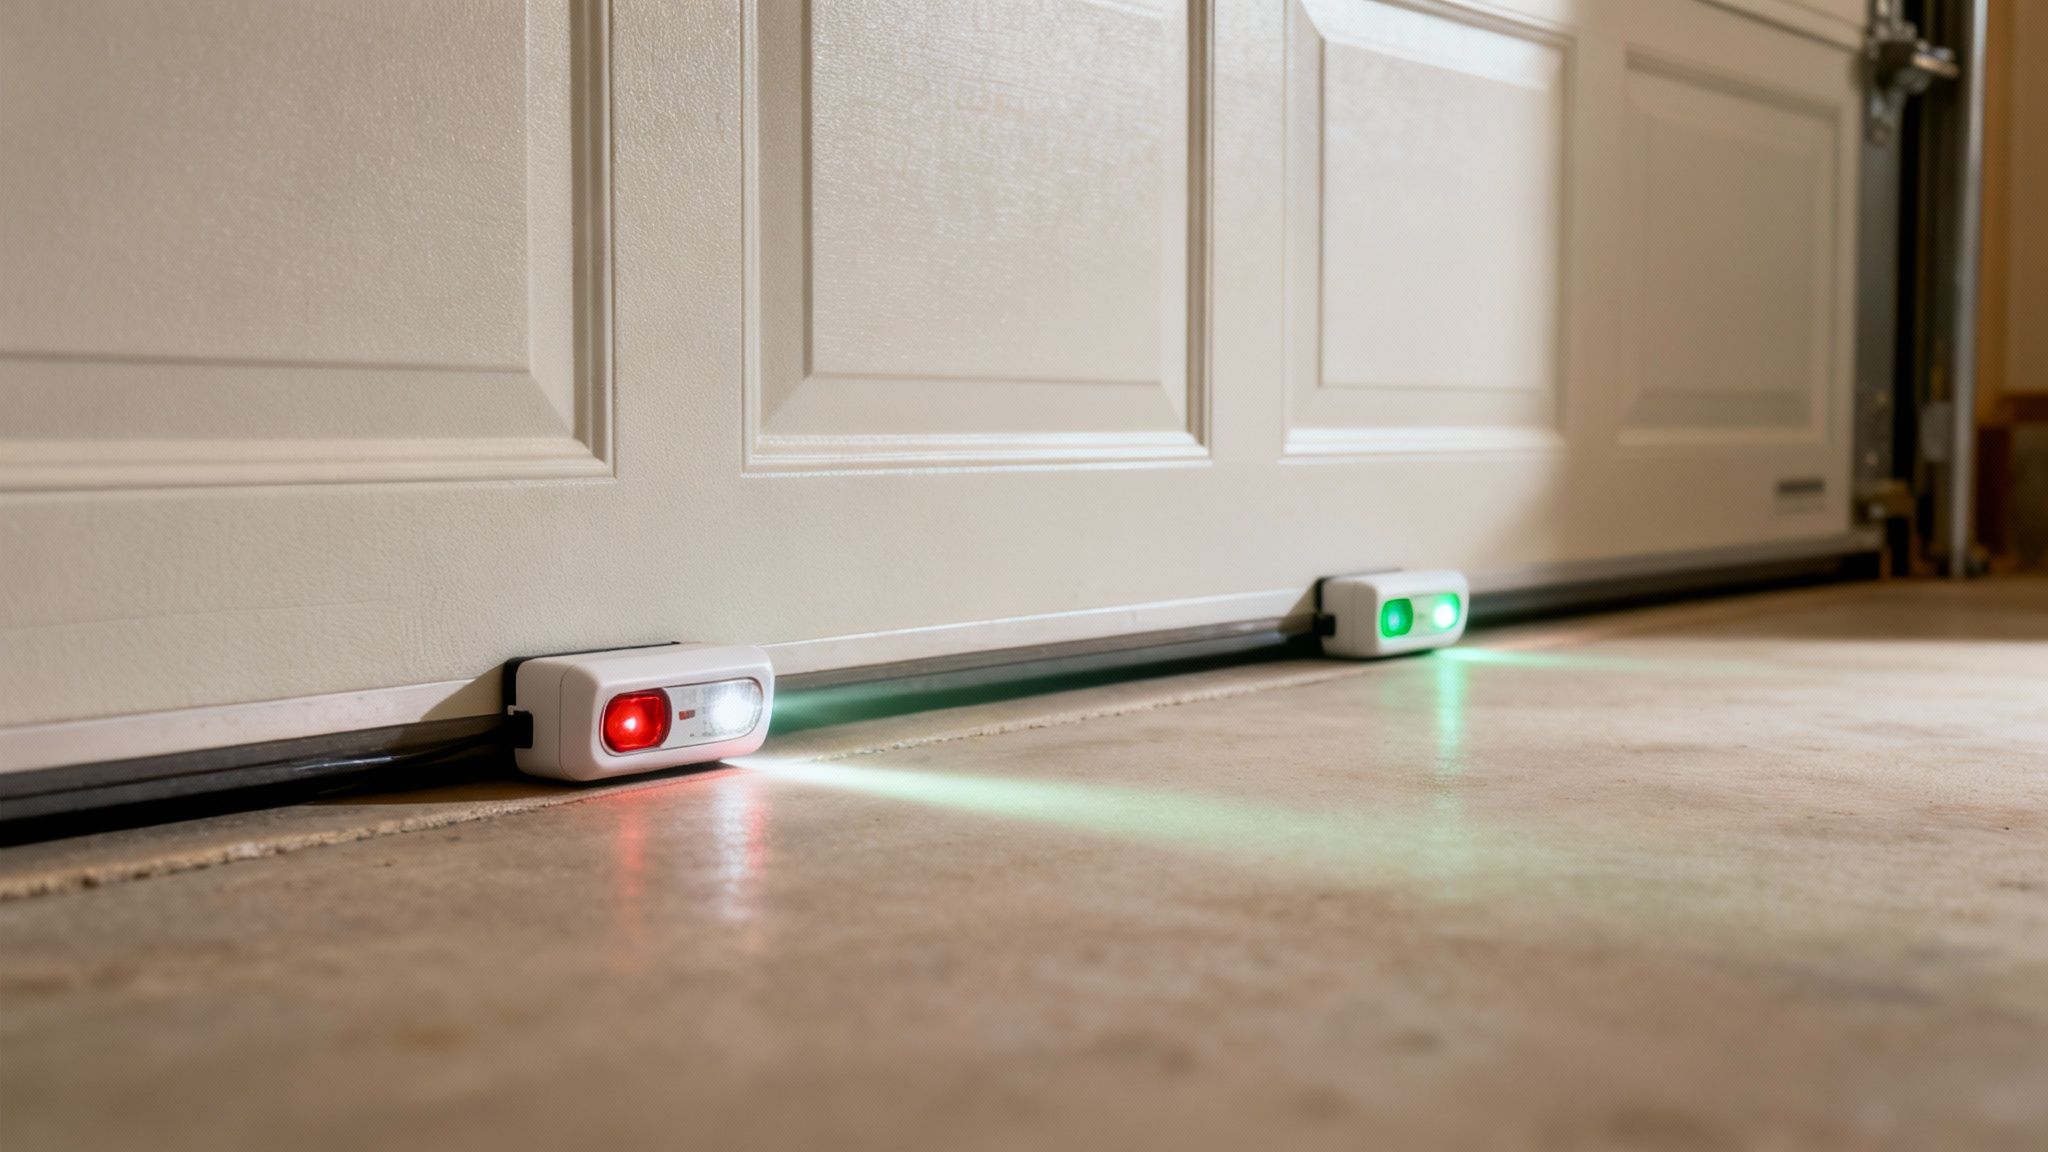
Those two small boxes near the bottom of your garage door tracks are your safety reverse system. One sends an invisible infrared beam to the other across the opening. If anything breaks that beam while the door is closing, the system instantly tells the door to go back up. It’s a critical safety feature, but it's also very sensitive.
What Causes Misalignment?
It doesn't take much to knock these sensors out of whack. I've seen it all in my years of doing this. The most common causes are usually pretty simple:
- A stray basketball or a kid's toy bumps into one of the brackets.
- You accidentally nudge a sensor with a shovel or lawnmower.
- The mounting bracket itself has vibrated loose over time.
- Even sweeping debris out of the garage can be enough to shift a sensor.
Here's a surprising fact: misaligned garage door sensors are the number one reason for a malfunctioning garage door, accounting for a staggering 45% of all our service calls in the Greater Cleveland area since 2015.
That’s right—nearly half the time a door acts up, it’s just because one of these little infrared eyes got bumped a millimeter off target. If your garage door won't close, checking the sensors should always be your first step.
Reading The Sensor Lights
The best part is, you don't need any special tools to figure out if this is your problem. The sensors tell you exactly what's wrong with their built-in indicator lights.
These little LED lights on your garage door sensors tell you everything you need to know.
| Sending Sensor Light (Amber/Yellow) | Receiving Sensor Light (Green) | What It Means |
|---|---|---|
| Solid | Solid | Good to go! The sensors are perfectly aligned. |
| Solid | Off or Flickering | Misaligned. The beam isn't hitting the receiver correctly. |
| Off or Flickering | Off | Power issue. Check the wiring to the sending sensor. |
| Both Off | Both Off | No power. There's a wiring issue or a problem with the opener. |
As you can see from the chart, a solid sending light but a flickering or off receiving light is the classic sign of a simple misalignment. That's your cue to get them lined up again.
Getting Your Tools Ready
Before you start fiddling with the sensors, let's grab the right tools. The good news? You almost certainly have everything you need already. This isn’t a job that requires a special trip to the hardware store.
Taking a minute to get these things now will save you a ton of frustration later. Trust me, nobody enjoys running back and forth to the workbench in the middle of a fix.
What You'll Need
Here’s the short list of what to grab. Each item has a simple but important job.
- A soft, clean cloth: Microfiber is perfect. You'll use this to gently wipe the sensor lenses clean without leaving smudges or scratches.
- A Phillips head screwdriver: This is just to loosen the bracket holding the sensor. You don't need to take it off completely, just get it loose enough to move.
- A small level: This is my secret weapon for getting it right on the first try. It’s optional, but using a level to make sure both sensors are perfectly parallel is a game-changer.
- A tape measure: You'll want to quickly check that the sensors are mounted at the right height—usually 4 to 6 inches off the ground.
My Two Cents: If you can, grab a helper. Having someone watch the little LED lights on the sensors while you make adjustments makes the process go so much faster. It takes all the guesswork out of it.
Your Guide to Realigning Garage Door Sensors
Alright, let's get that door working again. Learning how to line up garage door sensors is a simple DIY skill that can save you a ton of frustration—and a service call. It’s way more straightforward than most people think.
First thing's first: safety is non-negotiable. Before you touch the sensors, unplug the garage door opener from the wall. If it's hardwired, go to your electrical panel and switch off the correct breaker. This ensures the door won’t unexpectedly move while your hands are near the tracks.
Start with a Clean Slate
Before you start twisting brackets, grab that soft cloth and give the lens on each sensor a gentle wipe. You'd be surprised how often the real problem is just a bit of dust, a cobweb, or even a leaf blocking the infrared beam. A quick clean can sometimes fix the issue right then and there.
With the lenses clean, you can move on to the actual alignment. This isn't about brute force; it's a game of small, patient nudges.
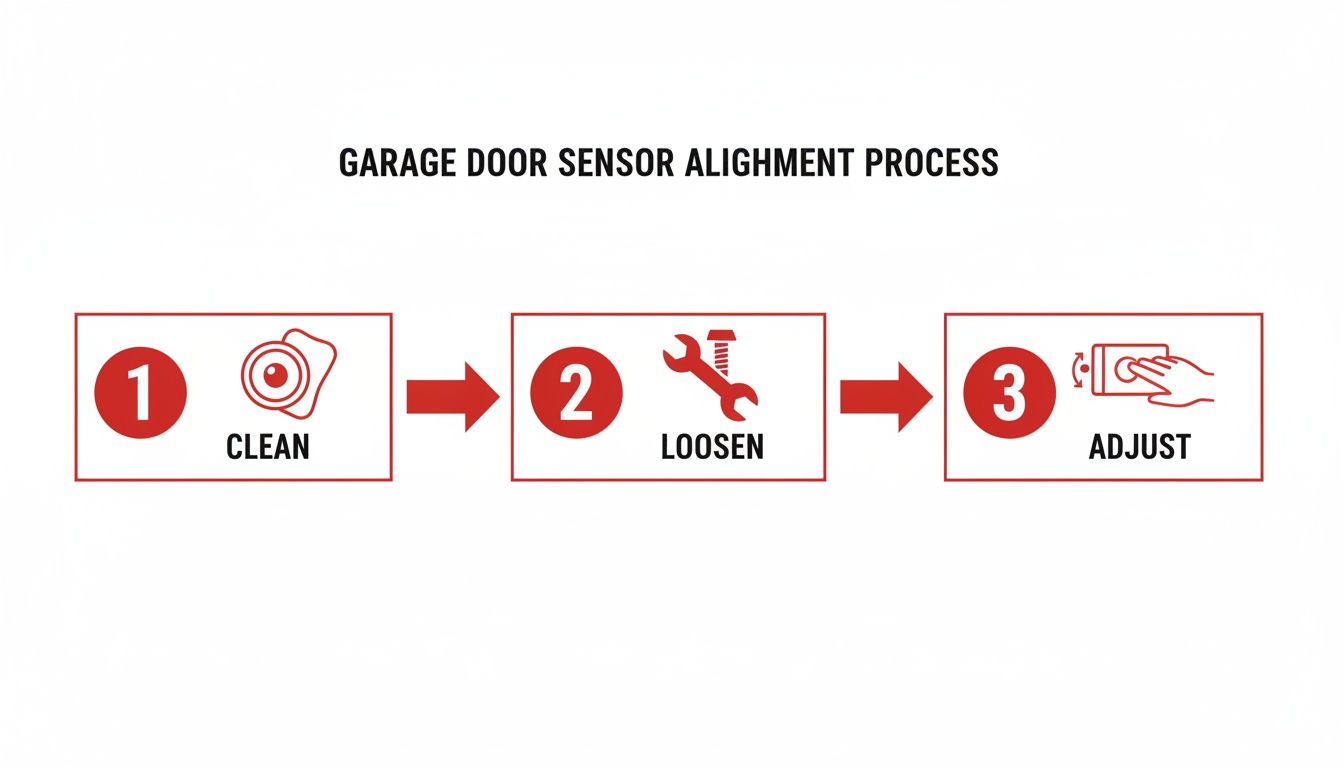
As you can see, it really boils down to three simple actions: clean the lens, loosen the bracket, and make small adjustments. That’s the core of a successful alignment.
The Art of the Small Adjustment
Now, grab your screwdriver and find the receiving sensor—that’s the one that usually has the green light. Slightly loosen the wing nut or screw on its mounting bracket. You just want enough wiggle room to move it by hand; don't take the screw all the way out.
This is where the finesse comes in. Start making tiny adjustments to the sensor's position. Nudge it up or down, then left or right, all while keeping an eye on that little LED light. The goal is to get that flickering light to turn solid and stay that way. It’s like tuning an old radio dial—slow and steady wins the race.
A Little Pro Advice: Patience is your best friend here. The biggest mistake people make is overcorrecting and moving the sensor way past the perfect spot. Make a tiny adjustment, pause to see what the light does, and then adjust again if needed.
Once that green light is shining bright and solid, carefully tighten the bracket back down, trying not to bump the sensor as you do. Give the light one last check to make sure it's still solid, and you've done it! If you're tackling other issues, you can learn more about how to adjust garage doors in our complete guide.
Troubleshooting Common Alignment Problems
So, you've carefully nudged the sensors back into position, but the door still won't close, or that little green light is still flickering. Don't give up yet. This happens all the time. Often, something else is pretending to be an alignment issue.
First, check the wiring. From my experience, a flickering light that just won't go solid is a classic sign of a loose connection. Gently jiggle the wires where they enter the back of each sensor. Do the same for the connections up at the motor unit. If the light blinks or changes when you move a wire, you've found your culprit.
Pesky Environmental Factors
Your garage environment can be a surprisingly big troublemaker for these sensitive devices. The sensors need a clear line of sight, and a few common things can get in the way.
- Direct Sunlight: If one of your sensors gets hit with direct sun at a certain time of day, the glare can blind the receiving eye. It essentially floods the sensor, making it think the beam is broken. A quick fix is to shield it with a piece of cardboard or even your hand to see if the light goes solid.
- Reflective Surfaces: I've seen this trip people up before. A shiny car bumper, a metal tool cabinet, or even a puddle of water can reflect the infrared beam and confuse the sensors.
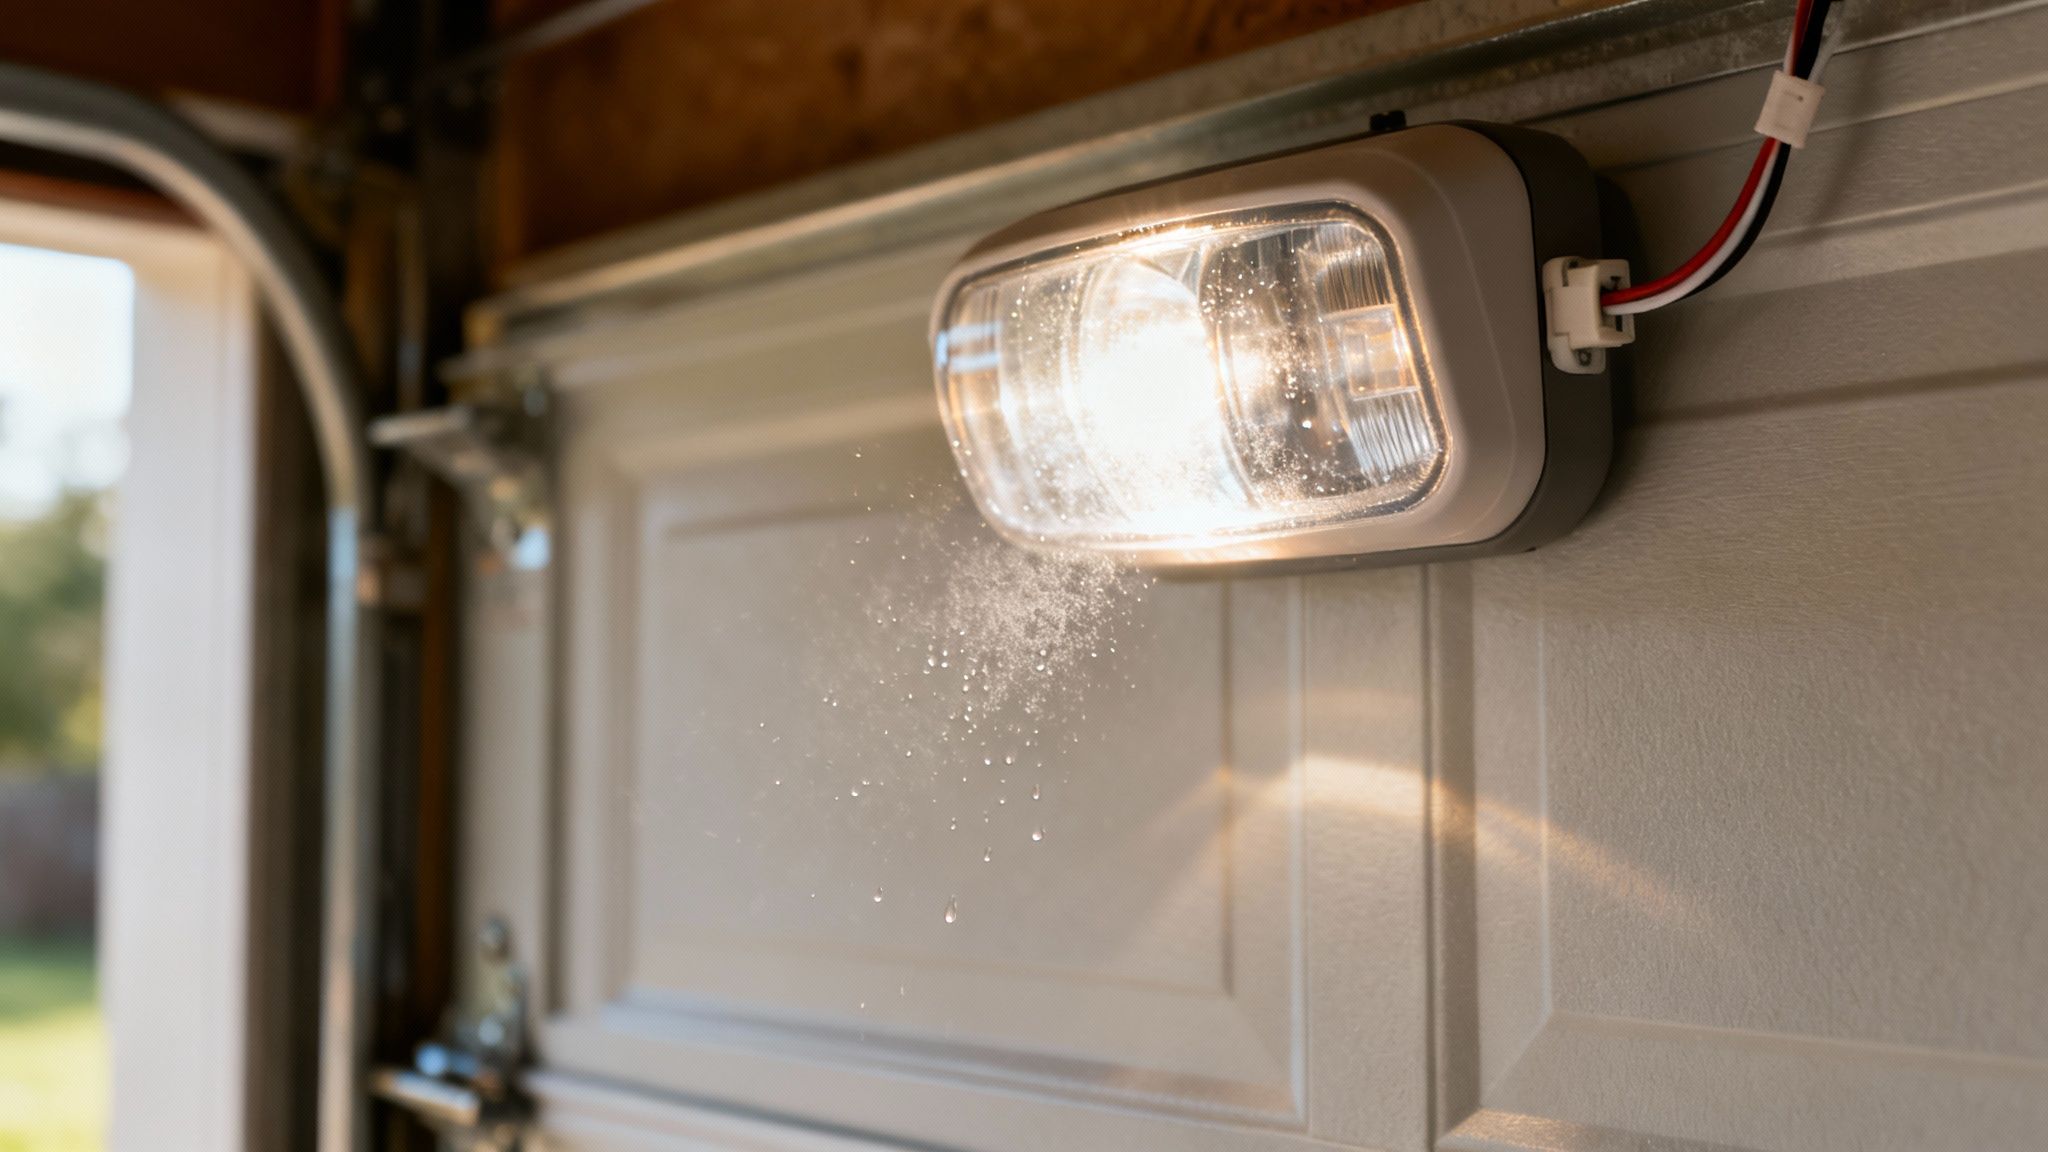
- Condensation: Living here in Northeast Ohio, we know a thing or two about humidity. When it's muggy, a fine layer of moisture can form on the sensor lenses and scatter the beam.
Here's a jaw-dropping stat: garage door sensor misalignment contributes to 60% of all unexpected door reversals nationwide. But in variable climates like Northeast Ohio, that jumps to 75% during peak humidity months. Last summer's 85% humidity average caused a 30% uptick in calls as moisture condensed on sensors, scattering the infrared beam like fog on a windshield.
A simple wipe with a dry cloth is usually all it takes to clear up condensation. If you've tried all these tricks and are still stuck, it might be time for a deeper look. Our guide on how to test garage door sensors can walk you through the next steps.
Knowing When to Call a Pro
Being able to realign your own garage door sensors is a great skill for any homeowner. But knowing when a problem is out of your league is just as important. Sometimes, misaligned sensors are just a symptom of a bigger issue that a simple tweak won't solve.
Before you spend hours trying to get it just right, take a hard look at the hardware. Are the sensor brackets just wobbly, or are they visibly bent, cracked, or rusted? You can get a damaged bracket perfectly aligned, but it’s a temporary fix at best—it just won't hold. The same goes for the garage door tracks. If they're warped or bent, the whole system is in trouble.
When It's More Than Just Alignment
The biggest red flag? No power to the sensors at all. If both LED lights are off and you've already confirmed the opener has power, you're almost certainly looking at an electrical problem. It could be anything from a chewed wire to a fried logic board on the opener itself.
That’s when it's time to step back. Messing with wiring or trying to force damaged hardware back into place can be dangerous if you don't have the right experience.
For our neighbors from Cleveland to Chagrin Falls, this is when an expert opinion is worth its weight in gold. A professional doesn't just treat the symptom; they find and fix the root cause, saving you from future headaches.
Think about this: professional alignment after a sensor issue can extend the life of your other garage door parts by 60%. It prevents the kind of extra wear on springs and rollers that costs Cleveland homeowners an average of $450 to fix. With 1 in 5 local garages dealing with sensor misalignment each year from motor vibrations alone, getting it fixed right the first time is just smart money. You can discover more insights about how professional repair addresses wear and tear on callallabout.com.
If you’ve gone through all the steps and your garage door still won’t cooperate, don't keep fighting it. For a safe, reliable fix, give a trusted local team like Danny's Garage Door Repair a call.
Your Garage Door Sensor Questions Answered
Even after a successful alignment, you might still have a few questions. I get these all the time from homeowners, so let's clear up the most common ones.
How High Should My Garage Door Sensors Be?
This is a great question, and the height is critical for safety. You want to mount your sensors between four and six inches off the garage floor.
Why that specific height? It's the sweet spot. It's low enough to detect a small child, a pet, or a forgotten toy in the door's path, triggering the auto-reverse. If you install them any higher, you create a dangerous gap where the beam could miss an obstruction.
Is It Okay to Bypass My Garage Door Sensors?
I’m going to be direct here: absolutely not. You might find videos online showing you how, but bypassing your sensors is a massive safety risk and a huge liability. It completely disables the single most important safety feature on your garage door opener.
Bypassing your sensors doesn't just put your family at risk—it also voids your manufacturer's warranty and violates federal safety laws that have been in place since 1993. It's a shortcut that is never, ever worth taking.
My Sensor Lights Are Still Blinking. Now What?
You've cleaned the lenses and perfected the alignment, but one of the LED lights is still flashing. What gives? More often than not, the culprit is a loose wire. Check the connections at the back of the sensor, then trace the wire all the way back to the main opener unit. A little jiggle can sometimes knock them loose.
If the wiring looks solid, you could be dealing with a faulty sensor that's on its way out or a problem with the opener's internal circuitry.
How Can I Keep My Sensors from Getting Misaligned Again?
A little prevention goes a long way. The easiest thing you can do is make a quick sensor check part of your routine. Once a month, just wipe the lenses with a soft, dry cloth to keep dust from building up.
While you're down there, give the brackets a quick look to make sure they haven't been bumped and are still aimed squarely at each other. This two-minute check can save you a whole lot of frustration down the road.
If you’ve run through all these steps and your garage door is still giving you trouble, it might be time for a professional eye. For expert service anywhere in Northeast Ohio, give us a call at Danny's Garage Door Repair or visit us online at https://garagedoors101.com.