Skip to content




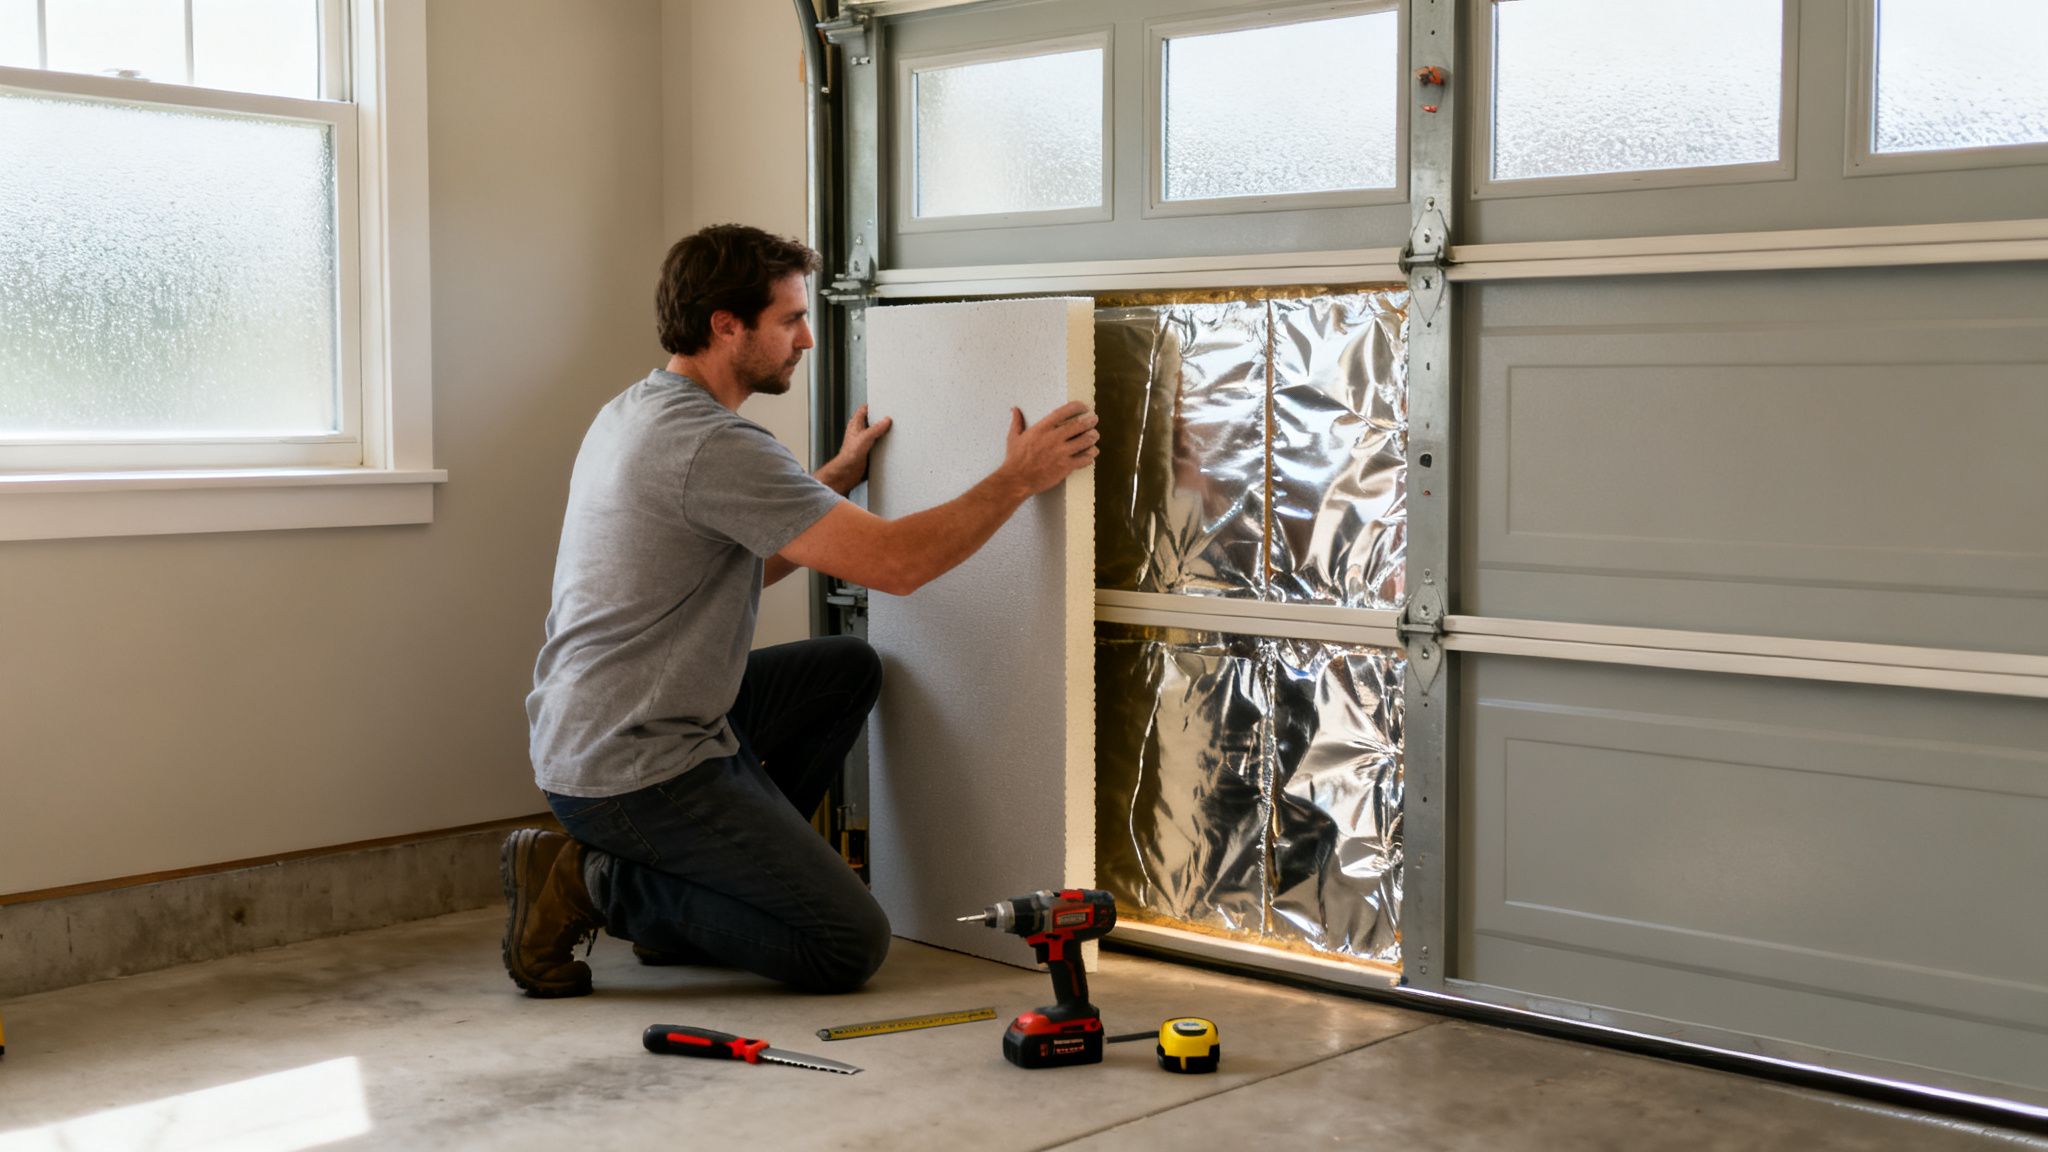
That bitter chill you feel in your garage during an Ohio winter isn't just uncomfortable—it's a sign your home is losing heat and, frankly, money. Figuring out how to insulate a garage door is a straightforward DIY project that quickly pays for itself by making the space more stable, comfortable, and energy-efficient.
Why Insulating Your Garage Door Is a Smart Upgrade
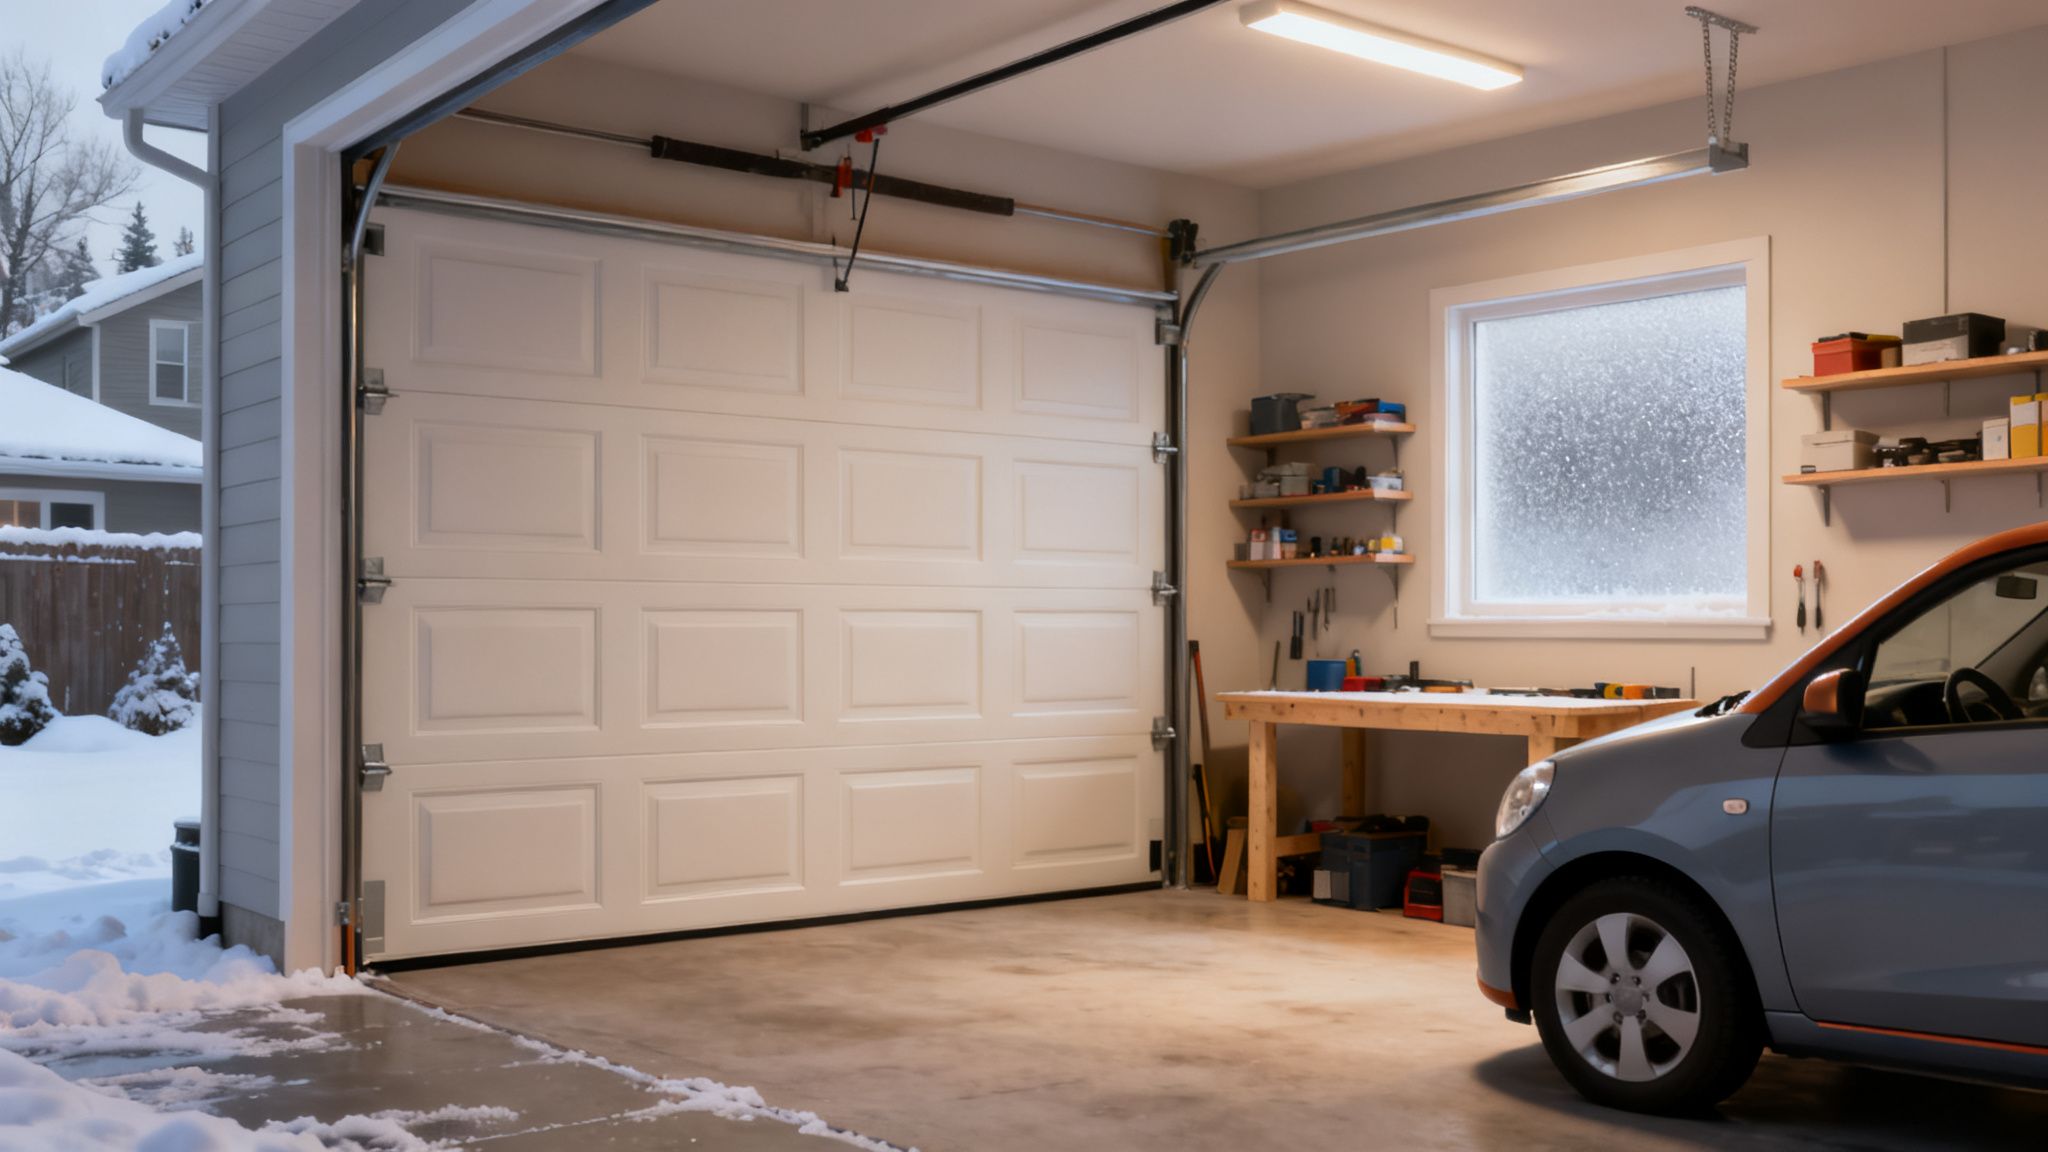
Most of us don't think about it, but an uninsulated garage door is often one of the biggest sources of energy loss in a home. It’s basically a giant, uninsulated wall facing the elements, which is why your garage gets freezing in the winter and scorching in the summer.
That temperature swing doesn't just stay in the garage. It bleeds into your home, forcing your furnace and air conditioner to work overtime. For homeowners here in Cleveland and across Northeast Ohio, where winters hit hard, this upgrade isn't just about comfort—it's a practical, money-saving solution.
Slash Your Energy Bills
The number one reason to insulate your garage door is the dent it puts in your energy bills. An attached garage with a flimsy, uninsulated door acts like a massive thermal drain, constantly pulling heat out of the rooms next to it.
The numbers might surprise you. Uninsulated doors can be responsible for up to 30% of a home's heat loss through an attached garage, forcing the furnace to run 15-20% more often. Adding insulation with a proper R-value stops that loss in its tracks. The average homeowner can save between $200 and $400 a year on utilities, and the garage itself can stay 20-30°F warmer in winter without any extra heating.
Create a More Usable and Comfortable Space
Beyond the savings, insulating your garage door turns it into a functional space you can use year-round. Ever thought about setting up a home gym, a workshop, or a play area for the kids, only to be put off by the extreme temperatures? Insulation fixes that by making the garage a comfortable extension of your home.
This simple upgrade delivers some great daily benefits:
- Protects Your Valuables: Wild temperature swings can damage cars, tools, stored paint, and other sensitive items. Insulation creates a more moderate environment that protects your belongings.
- Quiets Things Down: An unexpected perk is how much quieter things get. The added mass from insulation dampens street noise and even minimizes the rattling and creaking of the door itself as it opens and closes.
- Boosts Home Value: A well-insulated garage is a great selling point. It tells potential buyers that the home is energy-efficient and cared for, which can increase its overall appeal and resale value.
A Foundation for Better Home Efficiency
Think of insulating your garage door as the perfect first step toward improving your home's overall thermal performance. It's a high-impact project that works hand-in-hand with other energy-saving efforts. Taking this on is a fantastic way to improve home insulation and move toward total home comfort and savings.
By addressing this one large, uninsulated surface, you make it much easier for the rest of your home to maintain a consistent temperature. If you want to get into the nitty-gritty of the numbers, you can learn more about how to boost your garage door energy efficiency at https://garagedoors101.com/garage-door-energy-efficiency/.
Choosing the Right Insulation for Your Garage Door
Walking into a hardware store and staring at the wall of insulation options can be overwhelming. It's easy to get lost in the sea of foam boards, shiny foils, and all-in-one kits. But picking the right material is the single most important decision you'll make for this project.
Ultimately, your choice boils down to a few key things: our Northeast Ohio climate, what you're willing to spend, and how much time you want to put into the installation.
First Things First: Understanding R-Value in Ohio
Before you even think about materials, you have to understand R-value. In simple terms, R-value is a score for how well a material stops heat from moving through it. The higher the R-value, the better the insulation.
A high R-value means less of your expensive heat escapes in the winter and less of that brutal summer sun bakes your garage. For our chilly Ohio winters, a decent R-value isn't just nice—it's essential if you want to feel a real difference. A cheap, flimsy material just won't cut it when the temperature plummets.
If you really want to get into the weeds on the science behind it, our guide on what R-value means for garage doors is a great resource.
For anyone in Northeast Ohio, we tell our customers to look for a minimum of R-8. But if you really want to create a comfortable space and see a meaningful drop in your energy bills, aiming for something in the R-12 to R-18 range is where you want to be.
Your DIY Garage Door Insulation Options
Now, let's look at what you'll actually be working with. Each material has its own trade-offs between performance, cost, and ease of installation.
Here's a quick rundown of the most common DIY insulation materials to help you decide which one makes the most sense for your garage.
| Material Type | Average R-Value per Inch | Pros | Cons | Best For |
|---|---|---|---|---|
| Rigid Foam Board (EPS/XPS) | R-3 to R-5 | High insulation value, moisture resistant, adds some rigidity to the door. | Requires precise cutting, can be the most expensive DIY option. | Cold climates like Ohio where maximum thermal performance is the goal. |
| Reflective Foil Insulation | R-3 to R-4 (Varies) | Lightweight, very easy to install, budget-friendly, reflects radiant heat. | Less effective against cold transfer, lower overall R-value. | Milder climates or homeowners looking for a quick, low-cost summer heat solution. |
| Garage Door Insulation Kits | R-4 to R-8 (Typical) | All-in-one convenience, pre-cut panels, clear instructions. | Limited R-value options, can be pricier than buying materials separately. | First-time DIYers who want a simple, no-fuss project with guaranteed compatibility. |
Let's dig a little deeper into what these mean for your project.
Rigid Foam Board
This is the workhorse of DIY garage door insulation, and for good reason. It offers the best R-value for its thickness and is tough enough to handle the occasional bump. You'll typically find it in large, stiff panels that you have to custom-cut to fit snugly into each section of your garage door.
The biggest downside? The installation takes patience. You need to measure twice and cut once to get that perfect, friction-fit seal. It’s also usually the priciest option, but in my experience, you get what you pay for in performance.
Reflective Foil Insulation
Think of this as high-tech bubble wrap with a shiny, metallic layer. It’s incredibly lightweight and works by reflecting radiant heat away from the surface. This makes it pretty effective at keeping the garage cooler in the summer.
Installation is a breeze—you can often cut it with scissors and secure it with tape. However, its R-value is on the lower end, and it doesn't do as much to stop conductive heat loss during a frigid Cleveland winter. It’s a decent budget option, but it might leave you wanting more when the snow starts to fly.
Garage Door Insulation Kits
For those who want a simple, straightforward project, an all-in-one kit is a fantastic choice. These packages take all the guesswork out of the equation. You get a box with pre-cut panels (usually foam or a foil-faced material) and the right fasteners or adhesive to get the job done.
The trade-off is that you're stuck with whatever the manufacturer provides. The R-value might not be as high as what you could achieve with rigid foam, and they can sometimes cost more than sourcing the materials yourself. But for a weekend warrior looking for a hassle-free win, they are hard to beat.
More and more homeowners are catching on to the benefits. The garage door insulation market is expected to hit $2.21 billion by 2034, and it’s no surprise when you hear that 40% of new garage doors in the U.S. are now sold pre-insulated. It's clear that a comfortable, energy-efficient garage is becoming a standard expectation. For a closer look at these market trends, you can check out the analysis from Fortune Business Insights.
How to Install Your Garage Door Insulation
Alright, let's get to the good part: actually getting that insulation onto your garage door. This is a totally doable weekend project for most homeowners, but the secret to a great result isn't in the speed—it's in the prep work.
Think of it like painting a room. You could just slap some paint on the walls, but it's the taping, cleaning, and priming that makes the final job look professional. Taking a little extra time upfront will save you a world of frustration later and ensure your insulation works like it's supposed to.
The Preparation Phase
Before you even think about cutting your first piece of foam or unrolling that foil, you need to get your door and your tools ready to go. A clean, organized approach makes the whole process smoother.
First things first, gather all your supplies. There's nothing worse than getting into a groove only to realize you're missing a critical tool and have to run back to the hardware store.
Here's what I usually have on hand:
- Your Insulation: Whether you went with rigid foam board, a reflective foil roll, or a pre-made kit.
- Measuring Tape: A good, sturdy one is non-negotiable.
- Utility Knife: And I mean a sharp one. Have a pack of fresh blades ready. A dull blade just tears up foam and makes a mess.
- Straightedge or T-Square: Absolutely essential for getting clean, straight cuts on rigid foam panels.
- Safety Gear: At a minimum, wear gloves to save your hands and safety glasses to keep dust and little bits of material out of your eyes.
- Cleaning Supplies: A bucket of warm, soapy water, a sponge or rag, and some clean towels.
- Adhesive or Fasteners: This depends on your insulation. You might need construction adhesive, heavy-duty double-sided tape, or the retaining pins that often come with kits.
With your gear assembled, the most critical prep step is to thoroughly clean the inside of your garage door panels. Over the years, they get coated in a film of dust, grime, and oily residue. If you try to stick insulation to a dirty surface, the adhesive will fail sooner or later, and you'll come out one day to find your hard work sagging or lying on the floor.
Use the warm, soapy water to give every panel a good scrub down. Really get into the recessed areas where the insulation will sit. After you've cleaned them, wipe everything down with a dry towel and let the door air dry completely. Don't rush this part.
Pro Tip: While you're down there cleaning, take a good look at the weatherstripping along the bottom and sides of your door. If it’s cracked, brittle, or you can see daylight, now is the perfect time to replace it. Insulating the panels won't do much good if you have a half-inch gap letting cold air pour in underneath.
Measuring and Cutting Your Insulation
Precision is your friend here. The goal is a snug fit—not so tight that the insulation bows out, but not so loose that it leaves gaps for air to sneak through.
Start by measuring the height and width of the inside of a single door panel. A good habit I've picked up is to measure each panel individually. You'd be surprised how much they can vary, especially on older doors.
Transfer your measurements onto the insulation with a pencil. When you're cutting rigid foam, use your straightedge to guide the utility knife. You'll probably need to make two or three steady passes to get all the way through a thick panel. Don't try to muscle it in one go—that’s a recipe for a crooked, jagged cut.
Foil insulation is much easier; you can typically cut it with a sharp utility knife or even a heavy-duty pair of scissors.
As you cut each piece, take a moment to do a "dry fit." Gently press the insulation into its panel to see how it fits. If it's a bit too snug, trim a tiny bit off at a time until it slides in perfectly. This extra step is what separates a DIY job from a professional-looking one.
To help you decide on the right material before you start cutting, this guide offers a quick comparison of the two most popular DIY options.
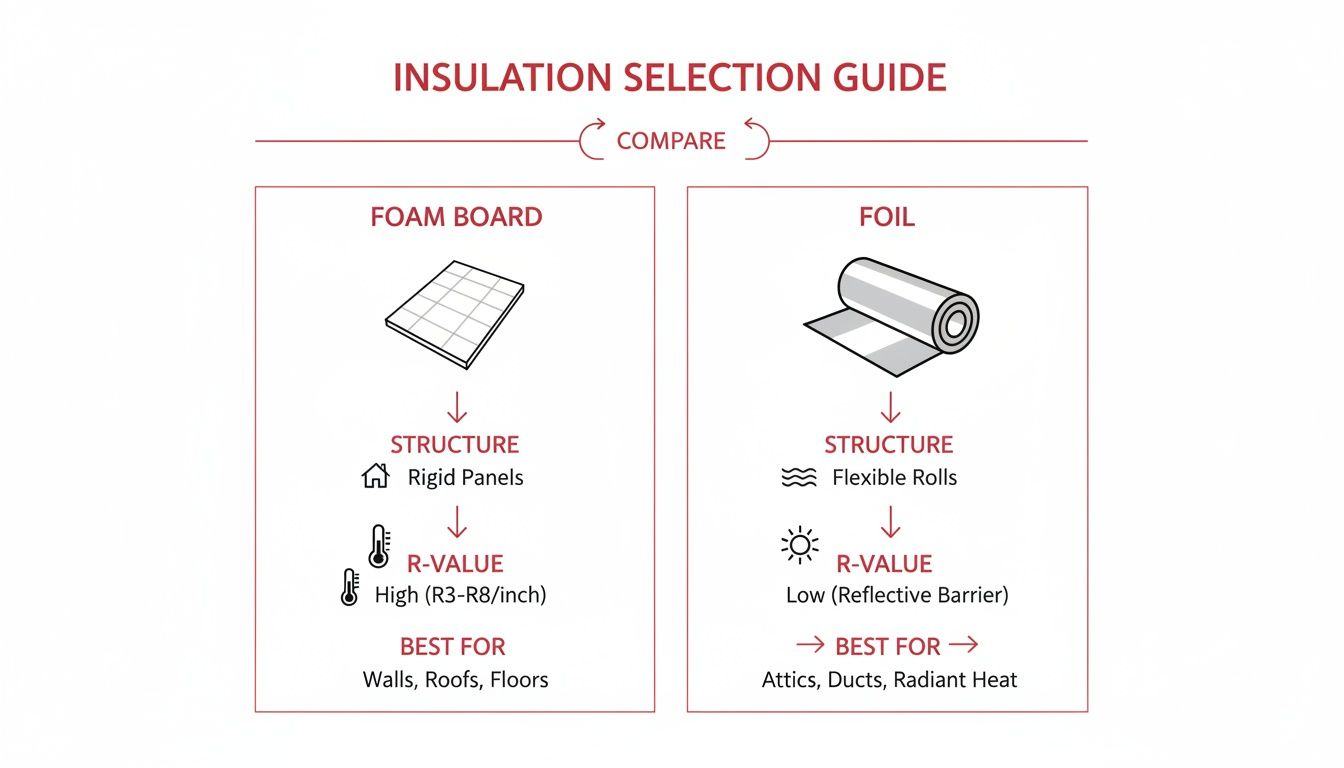
As you can see, foam board is the clear winner for thermal performance—perfect for our tough Ohio winters. On the other hand, foil insulation can be a quicker, more budget-friendly install.
Securing the Insulation and Finishing Touches
With all your pieces cut and test-fitted, it's time to lock them in place. Your method will depend on the product you're using.
- For Rigid Foam Board: If you cut your panels precisely, a simple friction fit is often all you need. The tension will hold them in place. For some extra peace of mind, you can run a bead of construction adhesive around the inside edge of the door panel before pressing the foam in.
- For Insulation Kits: These typically come with special fastening pins. You stick the adhesive base of the pin to the door, push the insulation over the spike, and then pop a cap on to hold it all together.
- For Reflective Foil: Strong, double-sided tape is usually the way to go. Apply it around the perimeter of the door panel and press the foil down firmly to get a good bond.
You'll inevitably run into obstacles like hinges, handles, and support struts. Don't try to bend or cram the insulation behind them. The better way is to cut your main insulation piece to fit the large open area, then measure and cut smaller, separate pieces to fill in the gaps around the hardware. It looks much cleaner and gives you a better seal.
Once every panel is in place, there's one last step that makes a huge difference: sealing the gaps. Grab a roll of foil tape (the kind used for HVAC ducts) and carefully apply it over the seams where your insulation meets the metal frame of the door. This little detail stops those final sneaky drafts and gives the whole project a clean, finished look.
Now, step back and take a look. You've just made a serious upgrade to your garage's comfort and your home's efficiency.
Don't Skip These Critical Safety Checks After You Insulate
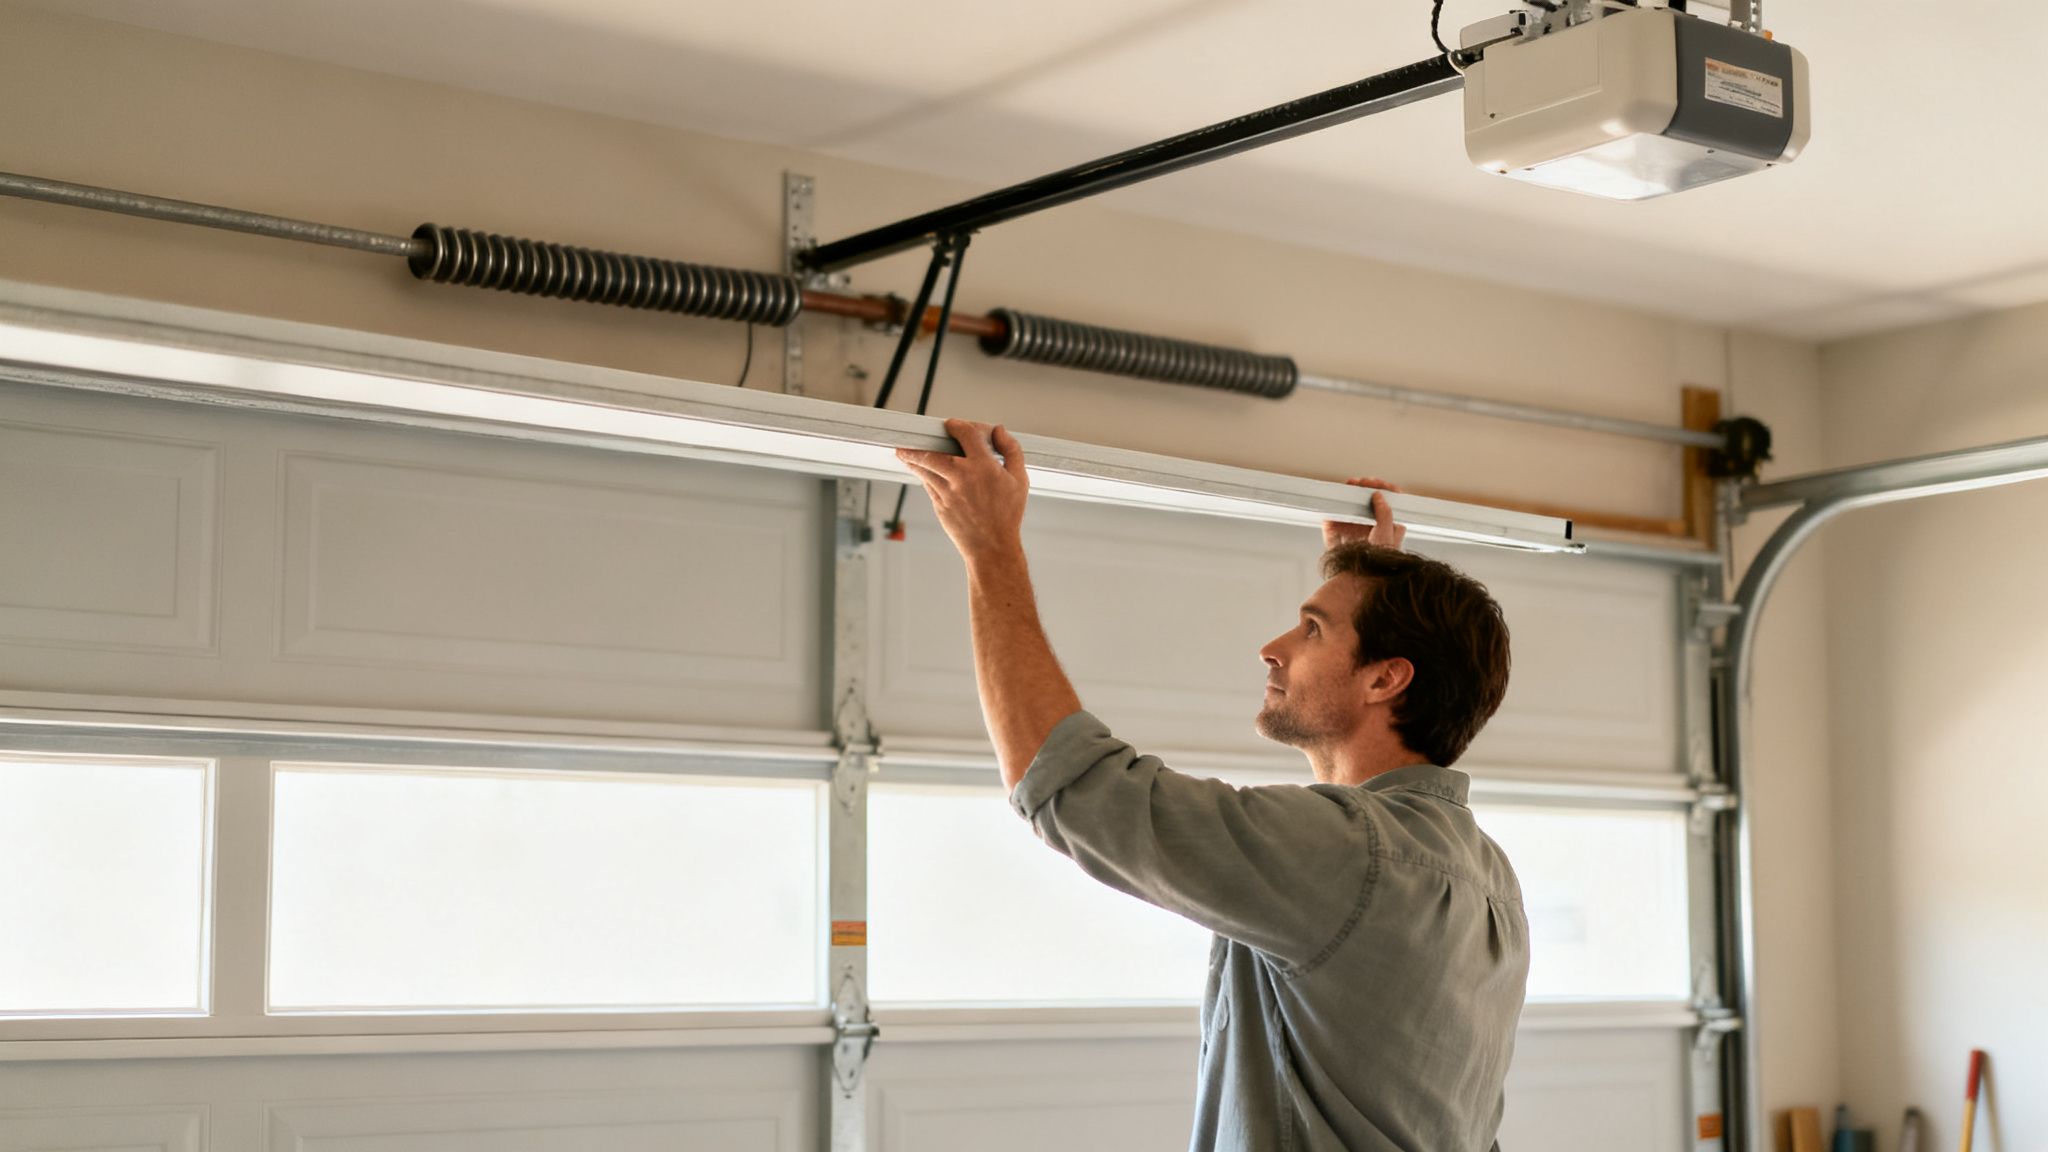
You’ve cut the last panel to size and sealed the final seam. It’s a great feeling to step back and admire your handiwork. The natural next step seems to be grabbing the remote and giving your newly insulated door a test run, right?
Not so fast. This is a moment where a lot of DIYers make a critical mistake. There's one more non-negotiable step to ensure your door operates safely and reliably for years to come.
Even the lightest insulation options add 5 to 20 pounds of weight. That might not sound like much, but it’s more than enough to throw off the fine-tuned balance of your garage door. This puts a ton of extra strain on your opener's motor and, even more critically, on the high-tension springs that do the actual lifting.
An unbalanced door will burn out an opener motor in a fraction of its expected lifespan. Far worse, it creates a dangerous situation where a spring or cable could fail under the new, unexpected load. These next ten minutes are the most important part of the job.
The All-Important Manual Balance Test
This is your number one priority. The manual balance test shows you exactly how the door behaves without the electric opener muscling it around. It's the only real way to know if the springs can still handle the door's new weight.
Here’s the right way to do it:
- First, make sure the garage door is completely closed.
- Next, pull the red emergency release cord hanging from the opener rail. You should hear a click as it disengages the trolley. This allows you to operate the door by hand.
- Now, carefully lift the door to about your waist—three or four feet from the floor. It should feel manageable, not like you're lifting a dead weight.
- Gently let go, but keep your hands ready just in case.
Watch what happens next. You’re looking for one of three things:
- The door stays put. It might move an inch or two, but it basically holds its position. Perfect! This means the springs are correctly counterbalancing the added weight.
- The door drifts down. It might be slow, or it might be fast, but it closes on its own. This is a clear sign the door is too heavy for the current spring tension.
- The door flies up. This is less common after adding weight, but it means the springs are now too powerful for the door.
If that door drifts downward at all, your system is officially out of balance. Don't be fooled into thinking the opener can just handle it. It will for a while, but you’re just setting it up for premature failure by stripping gears or burning out the motor. This is a clear signal that you need a professional to come and adjust the spring tension.
Check the Auto-Reverse Safety Feature
Your opener is equipped with safety sensors designed to reverse the door if it encounters an obstruction. The extra weight from your new insulation can interfere with the force sensitivity settings, so you absolutely have to test this.
It's easy. Just lay a standard 2×4 piece of wood flat on the ground where the center of the door comes down. Using your remote, close the door.
The moment the door touches the wood, it should immediately stop and reverse to the fully open position. If it just stops on the board or tries to crush it, the force setting is dangerously high and must be adjusted. Your owner's manual will show you where the force adjustment dials are on your specific opener model.
A Serious Warning About Springs: If that balance test fails and the door feels heavy, you might be tempted to look up a video on adjusting the springs yourself. Please, do not do this. Garage door springs are under an incredible amount of tension. One mistake can lead to serious injury or worse. This is one job that is strictly for trained professionals with the right tools.
The long-term health of your garage door system—and your safety—hinges on getting this right. For a deeper dive, you can find more details about this crucial process in our guide to balancing a garage door. When you have any doubt, make the safe call and bring in an expert.
Knowing When to Call in a Pro
Let's be honest, there's a huge sense of satisfaction in a successful DIY project. And for many standard garage doors, adding insulation can be a fantastic weekend task. But, and this is a big but, there are times when it’s smarter and safer to put down the tools and pick up the phone.
Knowing how to insulate your garage door is only half the battle. Knowing when not to is just as critical. A DIY job that goes sideways can mean you've just wasted your time and money on a poor insulation barrier. Even worse, you could end up with a damaged door or a burned-out opener. Sometimes, the peace of mind from a professional job is worth every penny.
Signs It's Time to Hire an Expert
Certain garage doors and specific situations just aren't cut out for a DIY approach. If any of these sound familiar, it's a good idea to get a professional opinion before you even think about buying materials.
Older or Heavy Wooden Doors: Wood is heavy to begin with. Add years of Ohio weather, and that door is a beast. Slapping insulation onto a system that's already straining its springs and opener is asking for trouble. A pro can tell you if your door can even handle the extra weight.
Doors with Existing Damage: See any dented panels, rust spots, or frayed-looking cables? Insulation is just a band-aid on a bigger problem. A professional can diagnose the root cause and handle the repairs before installing the right insulation for the job.
Complex or Custom Designs: Is your door covered in windows, decorative hardware, or funky panel designs? You could spend a whole weekend making tedious cuts, only to end up with gaps that let all the cold air in anyway. It's a frustrating and often fruitless task.
When an expert handles the job, you're not just getting a warmer garage—you're getting a guarantee. A professional installation means the right R-value for our climate, a perfectly calibrated opener, and properly tensioned springs.
The Real Perks of a Professional Installation
Beyond dodging potential DIY disasters, calling a company like Danny's Garage Door Repair offers some clear advantages. For one, we have access to high-quality, commercial-grade materials that often last longer and perform better than what you’ll find on the shelf at a big-box store.
But the real game-changer is security. A professionally insulated door doesn't just block out the cold; it makes your entire home safer. Insulated steel doors with double-wall construction can be up to 40% more resistant to forced entry. Many insurance companies even offer premium discounts of 10-15% for homes with professionally installed, secure garage doors. You can see more on these trends in market reports from firms like DataIntelo.com.
At the end of the day, a professional ensures the entire system—the insulation, the door, the springs, and the opener—works together as it should. This gives you the comfort and energy savings you're after, along with the safety and security your family deserves.
Common Questions About Insulating a Garage Door
Even after deciding to take this on, it's natural to have a few questions. This is a significant upgrade, after all, and you want to get it right. Here are some of the most common things we hear from homeowners around Cleveland as they plan out their garage door insulation project.
What's the Cost to Insulate a Garage Door in Ohio?
This is almost always the first question, and it really comes down to whether you do it yourself or bring in a pro.
If you’re going the DIY route, you can expect to spend somewhere between $100 and $300 for a typical two-car garage. Your final bill will depend on the R-value and quality of the insulation you pick up.
For a professional installation, which covers higher-quality materials and the critical labor for safety checks and spring adjustments, you're looking at a range of $500 to $1,500. It's a bigger investment up front, but having an expert handle it ensures everything is balanced perfectly, which helps you avoid expensive repairs to your opener or springs down the road.
What R-Value Do I Need for a Garage Door in Cleveland?
With our harsh Northeast Ohio winters, you definitely don't want to go too low on thermal resistance. From my experience, you need a bare minimum of R-8 to notice any real difference.
For the best performance and real energy savings, you should aim for an R-value between R-12 and R-18. That level of insulation is what truly creates a comfortable temperature buffer, protecting your car and anything else you store from the biting cold and helping to keep your heating bills in check.
Will Insulating My Garage Door Make It Quieter?
Absolutely. In fact, you'll probably notice the sound reduction before you even feel the temperature change. The added mass from the insulation material does an amazing job of dampening vibrations and absorbing sound.
You'll notice it in a couple of ways:
- It helps block out street noise, making the garage itself—and any rooms next to it—much quieter.
- It dramatically cuts down on the rattling and creaking sounds your door makes as it opens and closes.
Can I Insulate Any Type of Garage Door?
Most modern steel and aluminum doors with panels are great candidates for a DIY insulation job. Some door types, however, are a lot trickier to work with and just aren't built to handle the extra weight.
For instance, older, heavy wooden doors often can't safely support more weight without a complete overhaul of the spring system. One-piece "canopy" style doors that swing out can also be a real headache to insulate properly. If you have anything other than a standard sectional door, it’s always a good idea to get a professional opinion before you start buying materials. A quick consultation can save you a ton of hassle.
Still have questions or feeling like this project might be better left to an expert? The team at Danny's Garage Door Repair is here to help homeowners across Northeast Ohio get the job done right. We use the best materials for our climate and offer a 100% satisfaction guarantee. Get your free estimate today at https://garagedoors101.com.