Skip to content




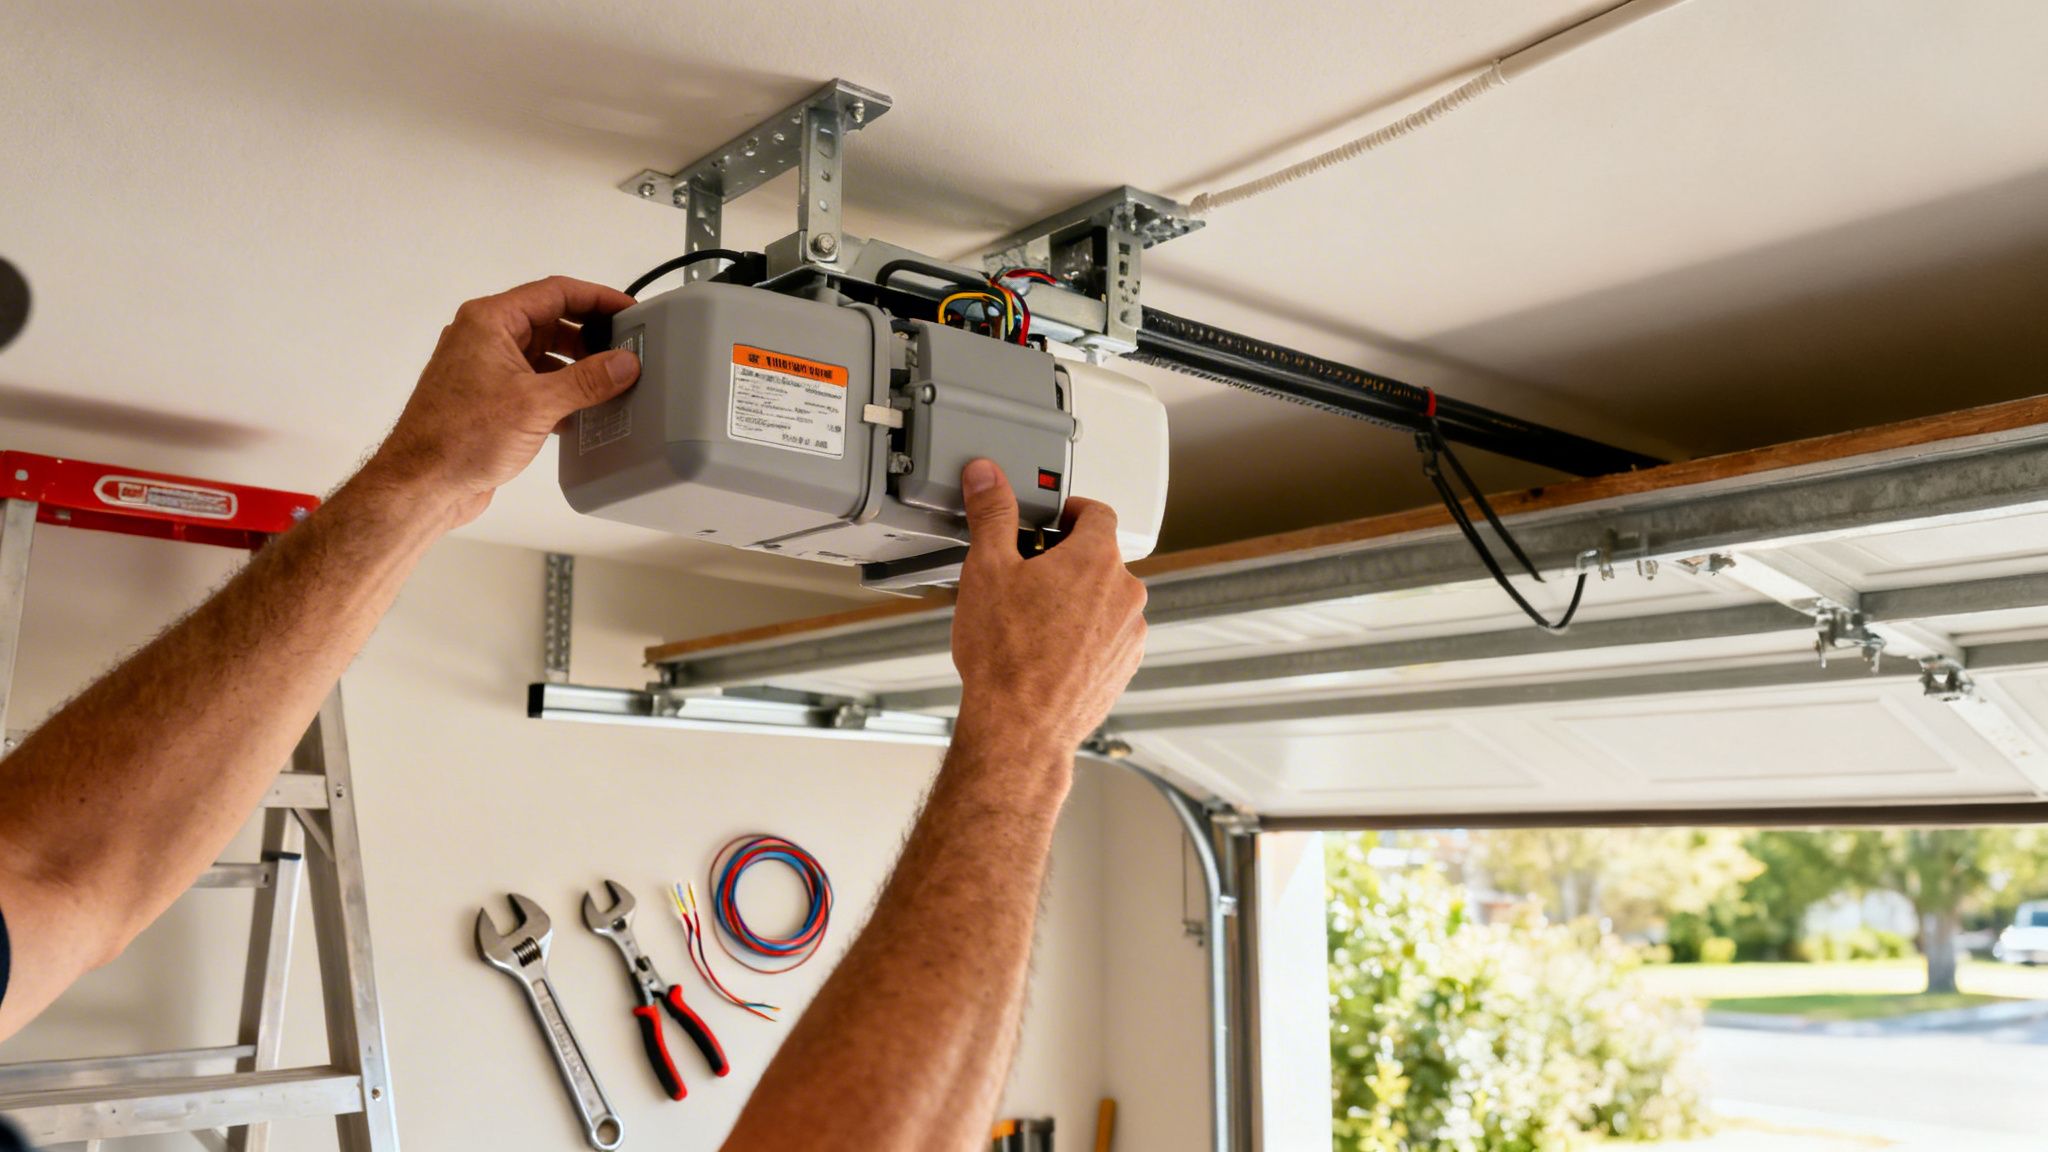
That loud, grinding noise from your garage door opener isn’t just annoying—it's a sign that its time might be up. If your opener is pushing 10-15 years old, seems to struggle lifting the door, or has just gotten plain stubborn, it’s often smarter to replace the garage door opener than to keep sinking money into repairs.
Knowing When to Replace Your Garage Door Opener
Figuring out if your opener needs a simple fix or a total replacement can be tricky. Sometimes the signs are loud and clear, like a motor that sounds like it’s grinding coffee beans. Other times, the problems are more subtle, slowly getting worse until one day your door just won’t budge.
It’s tempting to call for a repair every time it acts up, but that can be a losing battle. Patching up an old, inefficient unit can add up fast, often costing you more in the long run than just getting a modern, reliable system from the start.
Is Your Opener Showing Its Age?
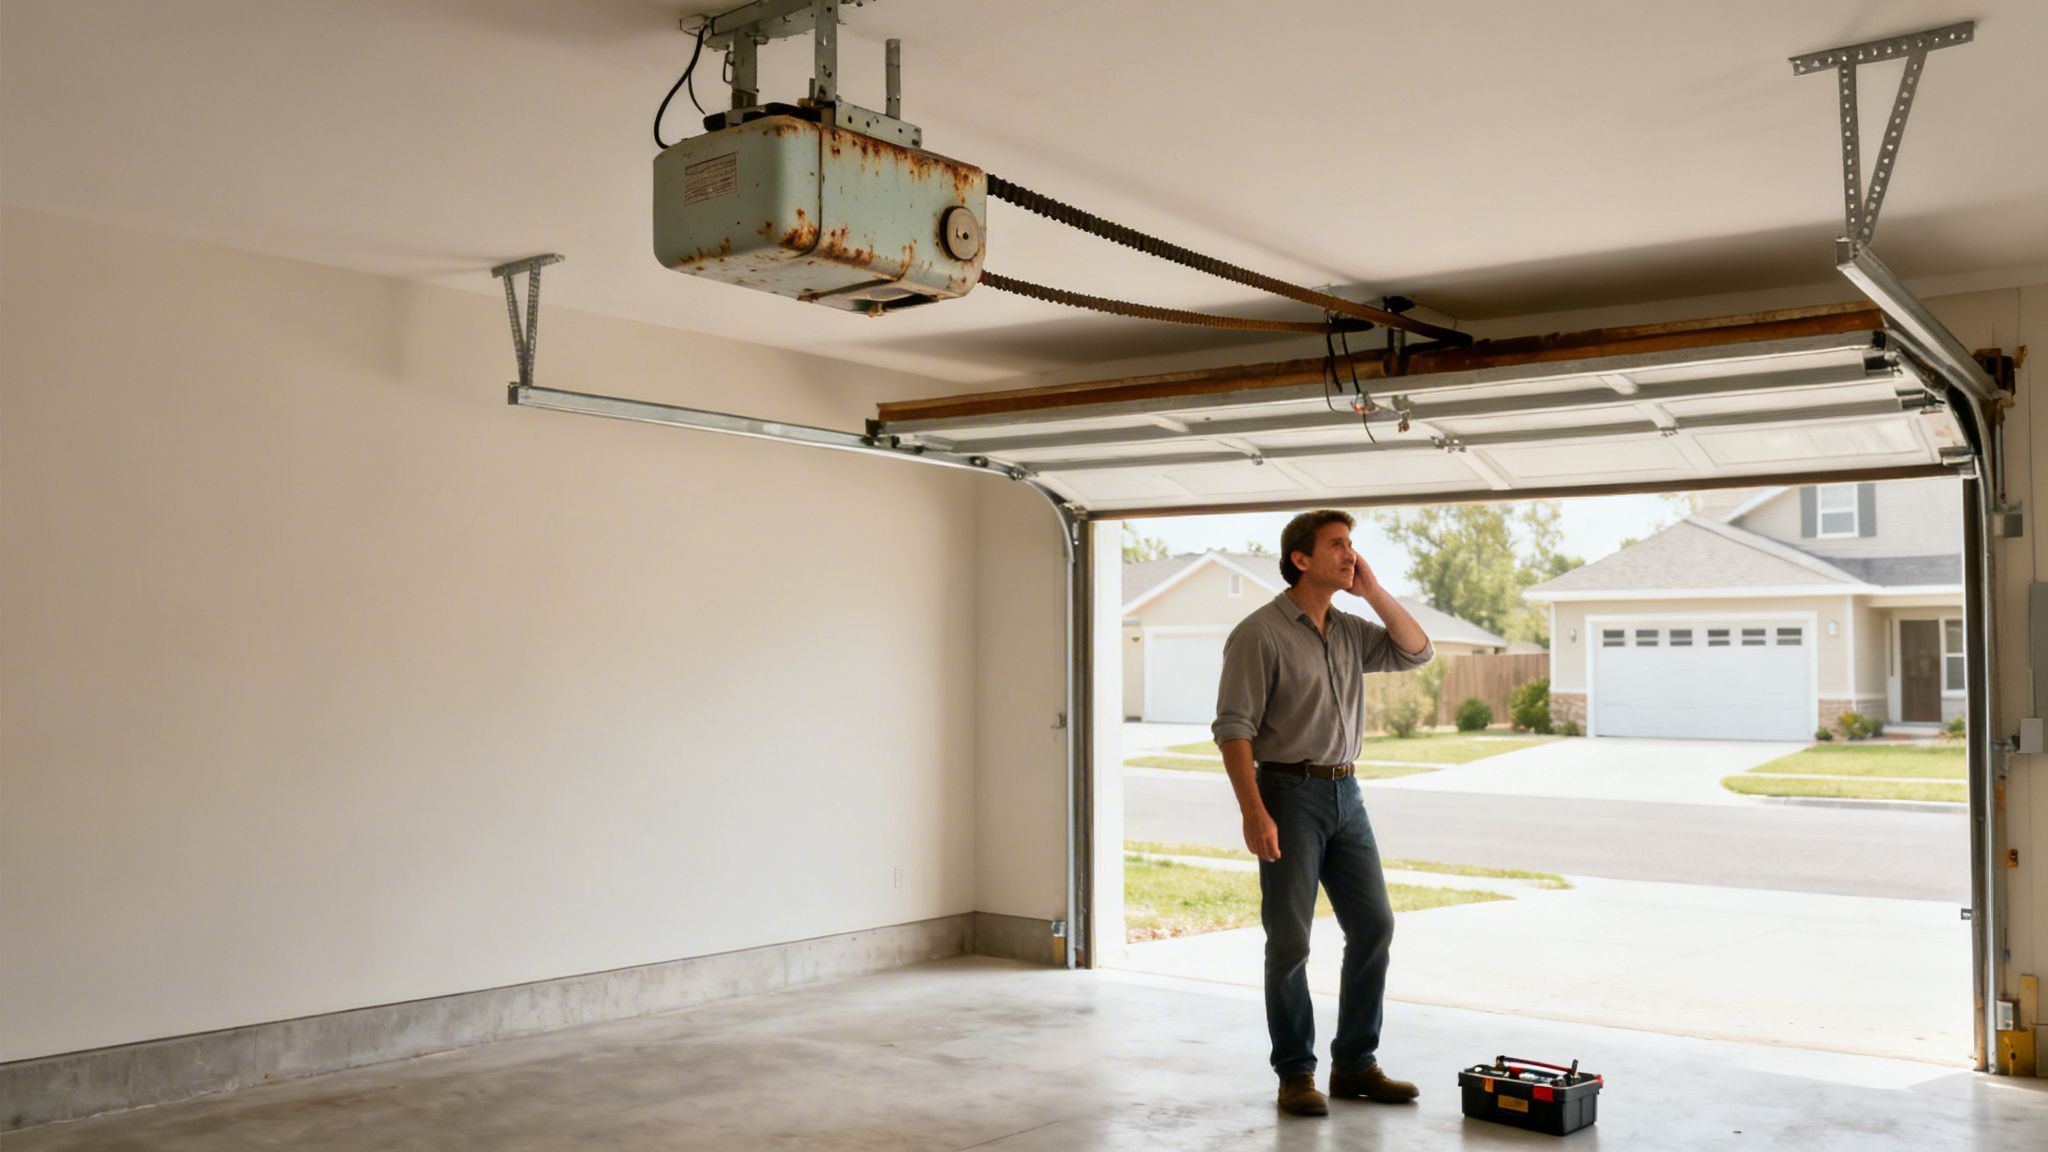
If your garage door opener was installed before 2010, it’s probably living on borrowed time. The technology inside these machines has improved a ton. Older models aren't just louder and less secure; they also lack the essential safety features that are now standard on every new unit.
Think about how much you rely on that opener. When it starts failing, it's more than a small hassle—it can mess up your whole day and even put your home's security at risk.
Keep an eye out for these common red flags that signal it's time for a change:
- Loud Noises: Any loud grinding, screeching, or clanking is a good sign the motor or internal gears are wearing out.
- Jerky or Slow Movement: Does the door hesitate, move in spurts, or strain to open and close? The motor is likely losing its power.
- Unreliable Remotes: If you find yourself mashing the remote button, hoping it will work, the problem might be the opener's receiver, not just a dead battery.
- Random Reversing: When the door goes back up for no reason, it could point to a failing logic board or faulty safety sensors.
A garage door opener should make your life easier, not add frustration to your day. If you hold your breath every time you hit the button, that’s a clear sign the system's reliability is gone. A replacement is your best bet for peace of mind.
Beyond Performance: The Safety Factor
Modern openers come with critical safety features that older models just don't have. Since 1993, all openers sold in the U.S. have been required to include photo-eye safety sensors. These sensors project an invisible beam across the opening and will automatically reverse the door if anything breaks it. If your system is older than that or has broken sensors, you're missing a key layer of protection for your family, pets, and car.
Deciding to replace a garage door opener is a common move for homeowners. With the global garage door market projected to hit $9.94 billion by 2029, it's clear that millions are upgrading from older units. Here in Northeast Ohio, our tough winters put extra strain on motors and mechanical parts, which can speed up wear and tear. If you're curious, you can get details about garage door market trends and see the data for yourself.
Repair vs Replace: Making the Right Call
Not every problem means you need a whole new opener. To help you decide, here’s a quick breakdown of common symptoms and whether a repair or replacement makes more sense.
Repair vs Replace Your Garage Door Opener
Use this quick comparison to decide if a simple repair is enough or if a full replacement is the smarter move.
| Symptom | Consider Repairing If… | Consider Replacing If… |
|---|---|---|
| Opener Won't Respond | The remote batteries are dead, the wall button is faulty, or the unit is unplugged. These are simple fixes. | The motor is completely dead, or the logic board has failed. Replacing these parts can cost nearly as much as a new unit. |
| Loud Noises | A simple tune-up with lubrication and tightened hardware might solve squeaking or rattling. | The noise is a deep grinding or clunking sound, which points to a worn-out motor or failing gears. |
| Door Reverses Suddenly | The safety sensors are misaligned or obstructed. Realigning them or clearing the path is an easy DIY fix. | The reversing is random and the sensors are fine. This often indicates a faulty logic board, a costly repair on an old opener. |
| Remote Has Poor Range | The remote's battery is weak, or the antenna on the motor unit just needs to be repositioned. | The opener is an older model with outdated radio frequency technology that's prone to interference. |
Bottom line: if your opener is over 10 years old and needs a major part like a motor or logic board, a full replacement is almost always the better and more cost-effective choice. You’ll get a quieter, safer, and more reliable system with a fresh warranty.
Choosing the Right Opener for Your Garage
Once you've decided to replace your garage door opener, you'll find there are a few options to consider. The best choice depends on your door type, your budget, and how much noise you're willing to live with. Getting this right from the start means you'll have years of smooth, reliable operation.
The market for these openers is growing, with projections showing it could reach $5,360.61 million by 2033. This isn't just about replacing old tech; it's about homeowners wanting smarter, safer, and more convenient systems. When you upgrade, you’re not just getting a new motor—you're getting modern technology that boosts your home's security and daily routine.
Understanding Drive Types
Your first big decision is the drive type. This is what really determines the opener's noise level, maintenance needs, and price. There are four main kinds.
Chain Drive: Think of these as the workhorses. A metal chain pulls the door along its track. They're incredibly durable and budget-friendly, but they are loud. If your garage is detached from your house, the noise probably isn't a big deal.
Belt Drive: If you have a bedroom or living room right above or next to the garage, a belt drive is your best friend. Instead of a noisy chain, they use a steel-reinforced rubber belt, which makes them whisper-quiet. They cost a bit more, but for many, the peace and quiet is worth it.
Screw Drive: This type uses a long, threaded steel rod to move the door. With fewer moving parts, there’s less to maintain. They're faster and quieter than chain drives but can sometimes be sensitive to big temperature swings.
Direct-Drive (Wall-Mount): This is the new kid on the block, and it's a game-changer. These openers mount on the wall next to your door and turn the torsion bar itself. This makes them incredibly quiet and frees up all that overhead space in your garage. They're perfect for garages with high ceilings but are usually the priciest option.
Matching Motor Power to Your Door
Next up is motor power, measured in horsepower (HP). Don't make the mistake of thinking bigger is always better. An underpowered motor will strain and burn out, while an overpowered one is just a waste of money.
The goal is to match the power to your door’s weight and material.
- 1/3 HP: This is really only good for the lightest, single-car aluminum doors. You don't see many of these anymore, as even standard doors have gotten heavier.
- 1/2 HP: This is the sweet spot and the most common size for a reason. A 1/2 HP motor has plenty of power for most single and double sectional doors made of steel or aluminum.
- 3/4 HP: If you have a heavy wooden carriage-style door or an oversized custom door, you’ll want the extra muscle of a 3/4 HP motor. It provides the torque needed to lift that weight without straining.
It's a common myth that a stronger opener can fix a poorly balanced door. An opener is only meant to guide a properly balanced door. If you can't lift your door easily by hand (with the opener disconnected), the problem is your springs, not the motor.
Exploring Modern Smart Features
Today’s openers are way more than just a motor and a remote. Smart technology has turned them into key parts of a connected home. As you look at new models, a good DIY home automation guide can show you all the cool ways these devices can work with the rest of your home.
Here are a few features to look for:
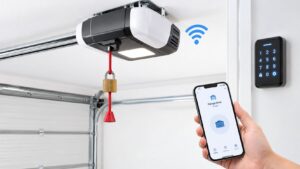
- Wi-Fi Connectivity: This is a must-have. It connects your opener to your home network so you can open, close, and check your garage door's status from a smartphone app, no matter where you are.
- Scheduled Closures: Ever drive away and wonder if you left the garage open? This feature lets you program the door to close automatically after a set amount of time.
- Guest Access: You can grant temporary access to family, friends, or even delivery drivers without handing out a physical remote or keypad code.
- Battery Backup: This is a crucial feature, especially if you live in an area with frequent power outages. A built-in battery ensures you can get your car in or out when the lights go out. We cover this in more detail in our guide on the importance of a garage door opener battery backup.
Gathering Your Tools and Safety Gear
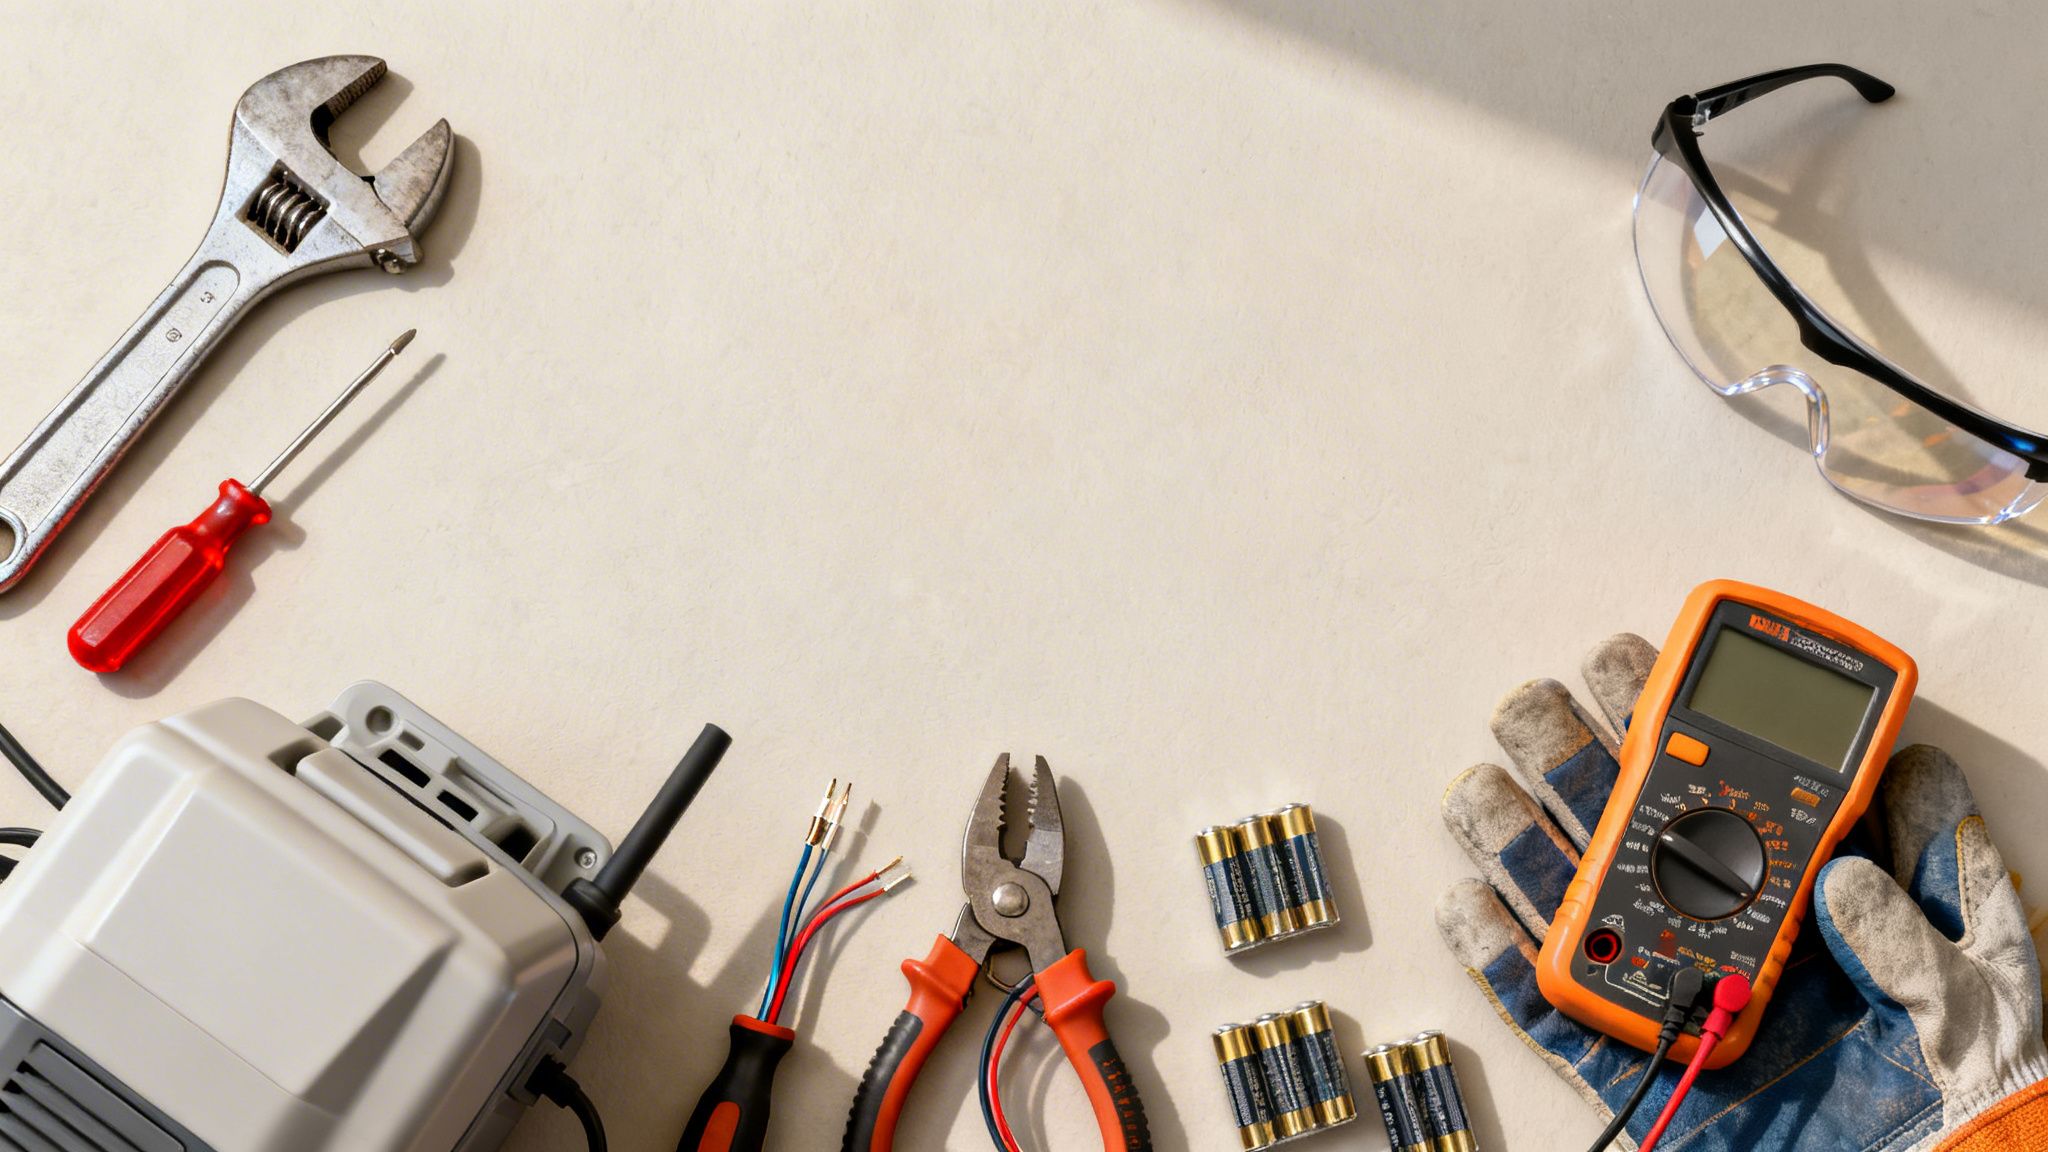
There’s nothing worse than getting halfway through a project only to realize you’re missing a key tool. When you decide to replace a garage door opener, a little prep work goes a long way, turning a frustrating ordeal into a smooth installation.
So, before you even open the box for your new opener, let’s get your gear and safety plan sorted out. Having everything you need within arm’s reach is a game-changer. For folks in the Bay Area, it's always smart to visit a local spot where you can find the right supplies for your DIY project and get some solid advice.
Your Essential Tool Checklist
You probably already have most of the tools for this job in your garage. But a few specific items will make this project a whole lot easier. I wouldn't recommend starting until you have these basics ready.
- A Sturdy Ladder: You'll be working over your head, so a stable stepladder is a must. Make sure it's tall enough so you can work comfortably without overreaching.
- Wrench and Socket Set: This will be your best friend. A good set with various sizes is essential for removing old hardware and securing the new opener.
- Drill with Assorted Bits: You’ll need this for mounting new brackets and possibly drilling pilot holes. An impact driver can speed things up, but a standard drill works fine.
- Wire Strippers and Cutters: You'll absolutely need these for handling the low-voltage wiring for your safety sensors and wall control.
- Measuring Tape: Don't just eyeball it. A measuring tape is key for centering the motor unit and getting the safety sensors at the perfect height.
- Level: A level ensures the opener rail and motor are installed perfectly straight. A crooked installation can cause binding and put unnecessary strain on the motor.
Critical Safety Precautions Before You Begin
Let’s be clear: garage doors are heavy, and their spring systems are under immense tension. Safety isn’t just a suggestion; it’s the most important part of the job. Forgetting a key safety step can lead to damage, injury, or a new opener that burns out way too soon.
Before you touch a single bolt on the old opener, run through this quick safety checklist.
Your garage door is the heaviest moving object in your home. The springs are under extreme tension and can cause serious injury if handled improperly. Always treat them with caution and respect their power.
First things first, unplug the old opener from the power outlet. This simple step eliminates the risk of electric shock and makes sure no one can accidentally hit the remote while you're working.
Next, you need to disengage the opener from the door. Look for the red emergency release cord hanging from the trolley. Give it a firm pull. This detaches the door from the opener’s rail, allowing you to lift it by hand. This is a critical step for what comes next: the balance test.
How to Perform a Garage Door Balance Test
A well-balanced door is the secret to a long-lasting garage door opener. The opener's job is to guide the door, not lift its entire weight—that's what the springs are for. If the springs aren't doing their job, the new motor will take on a load it was never designed for.
Here’s how you check the balance:
- With the opener disengaged, manually lift the door until it’s about halfway open.
- Carefully let it go. A properly balanced door should stay put, or maybe drift just a few inches.
- If the door slams shut or flies all the way open, the springs are out of balance and need professional adjustment.
If your door fails this test, stop right there. Trying to replace a garage door opener on an unbalanced door will destroy the new motor in just a few months. Adjusting high-tension springs is extremely dangerous and should only be handled by a trained technician.
Removing the Old Garage Door Opener
Alright, you've got your tools laid out and you’ve run through the safety checks. Now for the main event: getting that old opener out of the way. It might look like a big job, but it’s really just about disconnecting things in the right order. If you’re methodical, you’ll stay safe and avoid any damage.
The absolute first thing you must do—and this is non-negotiable—is to completely cut all power to the opener. Find the motor's power cord and pull it from the outlet in the ceiling. If your opener is hardwired, go to your home’s breaker box and flip the circuit that powers the garage. Don't just trust the wall switch; kill the power at its source.
Disconnecting the Opener from the Door
With the power off, your next task is to separate the opener from the garage door. You did this earlier for the balance test, but this time it's for good.
Look for the red emergency release cord on the opener rail. Give it a solid tug down and back. You should hear a "click" as the trolley disengages, freeing the door. Now you can lift and lower the door by hand.
Safety Tip: After disconnecting the door, raise it all the way up. Then, clamp a pair of locking pliers or C-clamps onto the vertical tracks right beneath the bottom rollers. This acts as a physical stop, ensuring the door can’t come crashing down while you’re working.
Removing Wires and Wall Controls
Time to deal with the low-voltage wiring for the wall control and safety sensors. They’re usually thin wires, often held in place with staples along the wall and ceiling.
Start with the wall-mounted control panel. A small flathead screwdriver is probably all you'll need. Unscrew the unit from the wall, then loosen the terminal screws on the back to release the two small wires.
Next up are the safety sensors, one on each side of the garage door opening near the floor.
- First, unscrew the sensors from their mounting brackets.
- Then, carefully detach the wires connected to each sensor.
- Gently pull out any staples holding the wires to the wall and ceiling, working your way back toward the motor unit.
Here's a pro tip: Don't toss the old wires just yet. You can often tape the new wires to the end of the old ones and use them to pull the new set into place, saving you a ton of time.
Taking Down the Motor Head
This is where an extra set of hands really helps. The motor itself isn't incredibly heavy, but it’s bulky and awkward, especially when you’re on a ladder.
The motor head is held up by mounting straps or angle iron. Grab your socket set and start loosening the bolts that attach the motor to these brackets.
I always leave one bolt loosely threaded until I'm ready to lift the unit down. It’s a simple trick that prevents the motor from falling unexpectedly. Once you and your helper have a firm grip, remove that last bolt and carefully lower the whole assembly—motor, rail, and all—to the floor.
Seriously, don’t try to be a hero and manhandle it alone if it feels too heavy. It’s much smarter to ask for help than to risk dropping a 30-pound motor on your head or your car. With the old unit on the garage floor, you've officially tackled the toughest part of the removal.
Installing and Programming Your New Opener
With the old unit out of the way, it’s time for the fun part: bringing your new opener to life. This is where all your prep work really pays off. The process is pretty logical, from assembling the new unit on the floor to that final, satisfying click of the remote.
First, assemble the new rail and attach it to the motor head. Your instruction manual is your best friend here, so follow it closely. It's much easier to piece these main parts together while they’re on the garage floor instead of trying to do it on a ladder.
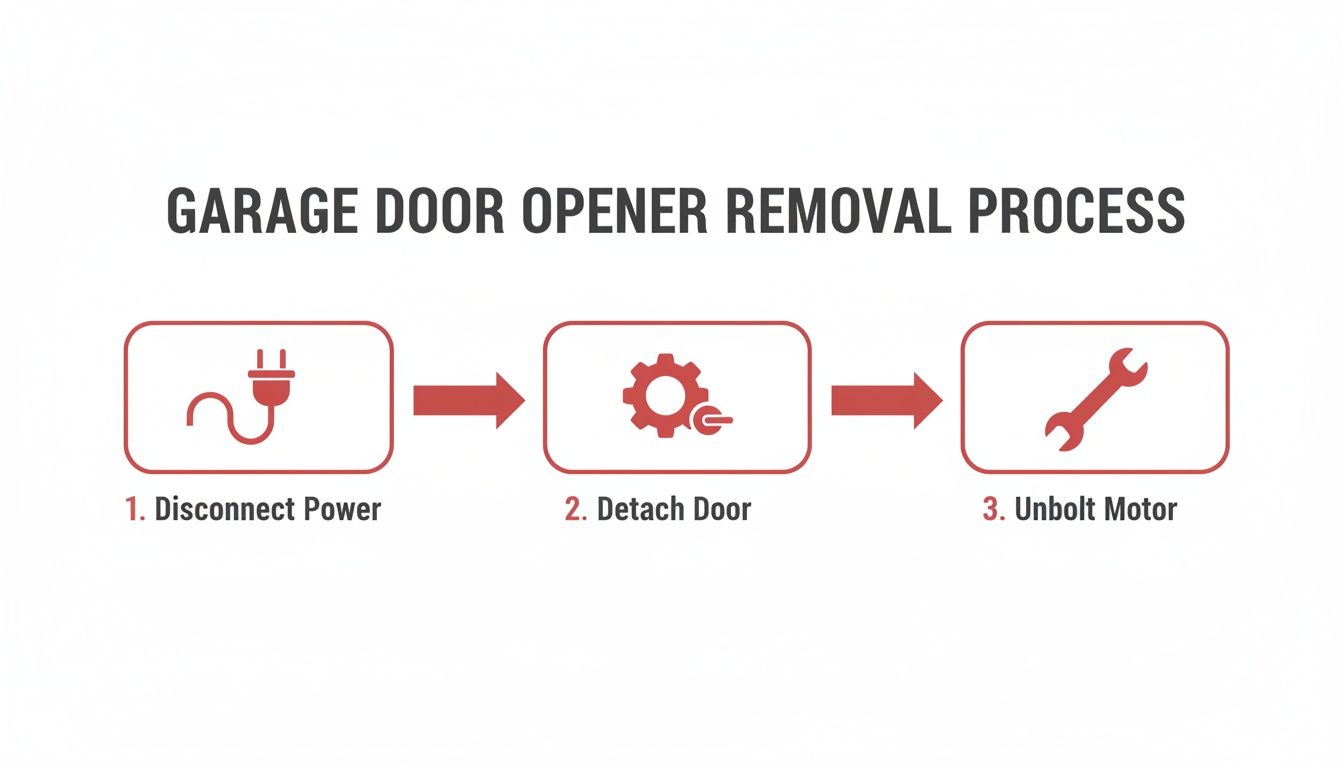
Getting the old unit out safely is the foundation for a smooth installation. Now, let's get the new one in.
Mounting the New Opener Unit
Once the rail and motor are assembled, you’ll need to lift the unit into place. This is another moment where a helper is invaluable. Hoist the entire assembly up and secure it to the ceiling brackets you either left in place or just installed.
Now, grab your level. It's absolutely critical that the rail is straight and parallel to the garage ceiling. A slightly angled rail can cause the door to bind in its tracks, which puts a ton of strain on the new motor. Take your time and get this part right.
Installing Safety Sensors and Wall Controls
With the main unit mounted, it's time to install the safety sensors. These are the most important safety feature of your new opener. They need to be mounted on each side of the garage door opening, no higher than six inches from the floor.
Position the "sending" and "receiving" sensors so they're looking right at each other across the opening. Then, run the low-voltage wires from each one up the wall and along the ceiling back to the motor head. Use insulated staples to secure the wires neatly, but be careful not to staple through the wire.
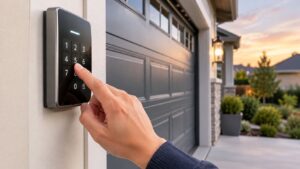
Next is the new wall control panel. Mount it inside your garage, usually next to the door leading into your house. Connect its wires to the designated terminals on the motor head. A clean wiring job doesn't just look pro—it prevents snags and damage later.
Setting the Travel Limits
This is a critical adjustment. You're about to teach the opener exactly how far the door should move up and down. If you get this wrong, the door might not close all the way, or it could open too far and damage the door or opener.
Do not try to operate your opener with the remote or wall button until you've properly set the travel limits. If you do, the opener could cause serious damage to the motor, rail, or even the garage door itself.
The specific steps will differ a bit depending on the brand (like Genie vs. Chamberlain), but the idea is the same. You'll use buttons on the motor head to manually move the door to its fully closed and open positions, saving each one.
- Setting the Down Limit: Adjust the door until it sits flush with the garage floor, creating a good seal with the weatherstripping. Don't set it so low that it bows the top panel of the door.
- Setting the Up Limit: Adjust the door until it’s fully open, giving you maximum clearance for your car. A good rule of thumb is to have the bottom edge of the door line up with the bottom of the door header.
Once you’ve set the limits, the opener will automatically run a full cycle to test and calibrate its force settings.
Programming Remotes and Smart Features
And now for the grand finale. With all the mechanical work done, you can finally program your remotes and keypads. This usually involves pressing a "Learn" or "Program" button on the motor head, then pressing the button on your remote. Simple as that.
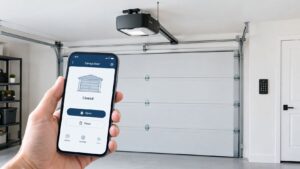
If you bought a smart opener, this is also when you'll connect it to your home’s Wi-Fi. Just download the manufacturer's app and follow the on-screen steps. Once it's online, you can open, close, and check your garage door from anywhere.
Upgrading to a smart opener is a big win for home security. The global market for these devices topped $600 million in 2024, with North America making up a huge 90% of that. For homeowners in Northeast Ohio, it's a smart move—especially when you consider that over 20% of home burglaries start at the garage.
Programming can sometimes be a bit fussy, but don't get discouraged. If you get stuck, our detailed guide on how to program a new garage door opener has more in-depth tips to help you out.
When It’s Time to Call a Pro Instead
Taking on a DIY project can be incredibly satisfying, but there’s also wisdom in knowing when to step back. While you might be able to replace the garage door opener yourself, some situations make calling a professional the smarter—and much safer—choice. A few clear red flags should have you putting down the tools and picking up the phone.
The first major checkpoint is the garage door itself. Remember that balance test? If your door came crashing down or shot up on its own, that's an immediate stop. The real problem isn't your opener; it's the powerful springs that do the heavy lifting.
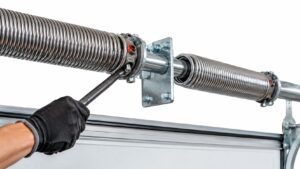
Garage door springs are never a DIY-friendly repair. They are under an immense amount of tension and can cause serious injury or property damage if they snap or are mishandled. A professional spring replacement, which typically costs between $200 to $700, is a non-negotiable investment in your safety.
Situations That Absolutely Demand a Professional
Beyond an unbalanced door, a few other scenarios are best left to someone with years of experience. These situations often involve hidden problems or serious risks that a standard guide can't cover.
Think of these as your "stop and call for help" signs:
- Visible Damage to Springs or Cables: If you see rust, notice gaps between the spring coils, or see frayed cables, don't touch them. These are signs of component failure, meaning they could break at any moment.
- Complex Electrical Wiring: Was your old opener hardwired directly into a junction box instead of just plugged in? That's a job for a qualified technician or an electrician. Messing with your home's main circuits is a dangerous game.
- An Unusual Garage Configuration: Do you have extra-high ceilings, a low-headroom track system, or a very heavy wooden door? These non-standard setups often need special hardware, precise adjustments, or a different type of opener, like a wall-mount unit. A pro has seen it all and will know what to do.
- The Opener Isn't the Real Problem: Sometimes, a struggling opener is just a symptom of a bigger issue. If the door tracks are bent or the rollers are shot, a new opener won’t solve a thing. In fact, forcing it to work against that resistance will just burn out your new motor.
Calling for help isn't giving up—it's making a smart call. Here at Danny's Garage Door Repair, our technicians can find the true source of the problem in minutes. We’ll give you the straight story on whether a new opener is the right solution or if your money is better spent fixing the door itself.
Common Questions We Hear About Opener Replacements
Even with a detailed guide, it’s normal to have a few questions before you dive into a project like replacing your garage door opener. I’ve been doing this for a long time, so I’ve heard just about every question there is. Here are the most common ones, along with some straight-shooting answers.
What's the Real Cost of a New Opener?
This is usually the first thing people ask, and the truth is, it depends. The opener itself will typically cost anywhere from $150 to $500. The final price is influenced by the brand, the drive type (belt vs. chain), and whether you want smart features like Wi-Fi.
If you hire a pro for the installation, you can expect to add another $200 to $400 for their labor. So, all in, you’re generally looking at a total of $350 to $900 for a complete, professional replacement.
How Much Time Should I Block Out for This?
If you’re pretty handy and have all your tools ready, you can probably get this done in about 4 to 6 hours. That’s from taking the old one down to the final test of the new one.
A seasoned pro, on the other hand, can move a lot faster. We can typically knock out the entire job—removal, installation, wiring, and testing—in just 2 to 3 hours. We’ve done it a thousand times, so we know all the little tricks.
One question I get all the time is about reusing old parts, especially remotes. The short answer is no. Security technology changes fast, and new openers come with their own paired remotes that use modern, secure frequencies. It's a security upgrade you'll be glad to have.
Will I Need to Get a Permit?
In most cases, no. Swapping out a garage door opener is usually seen as a simple appliance replacement, so a permit isn't required.
The big exception is if your project involves running brand-new electrical wiring or installing a new outlet. If that’s the case, you might need a permit. It’s always smart to make a quick call to your local building department here in Northeast Ohio to be sure. A two-minute phone call can save you a lot of trouble.
If you’ve read through this and are thinking it might be more than you want to handle on a Saturday, that's what we're here for. The team at Danny's Garage Door Repair offers fast, professional service all over the Greater Cleveland area. Feel free to reach out for a free, no-hassle estimate.