Skip to content




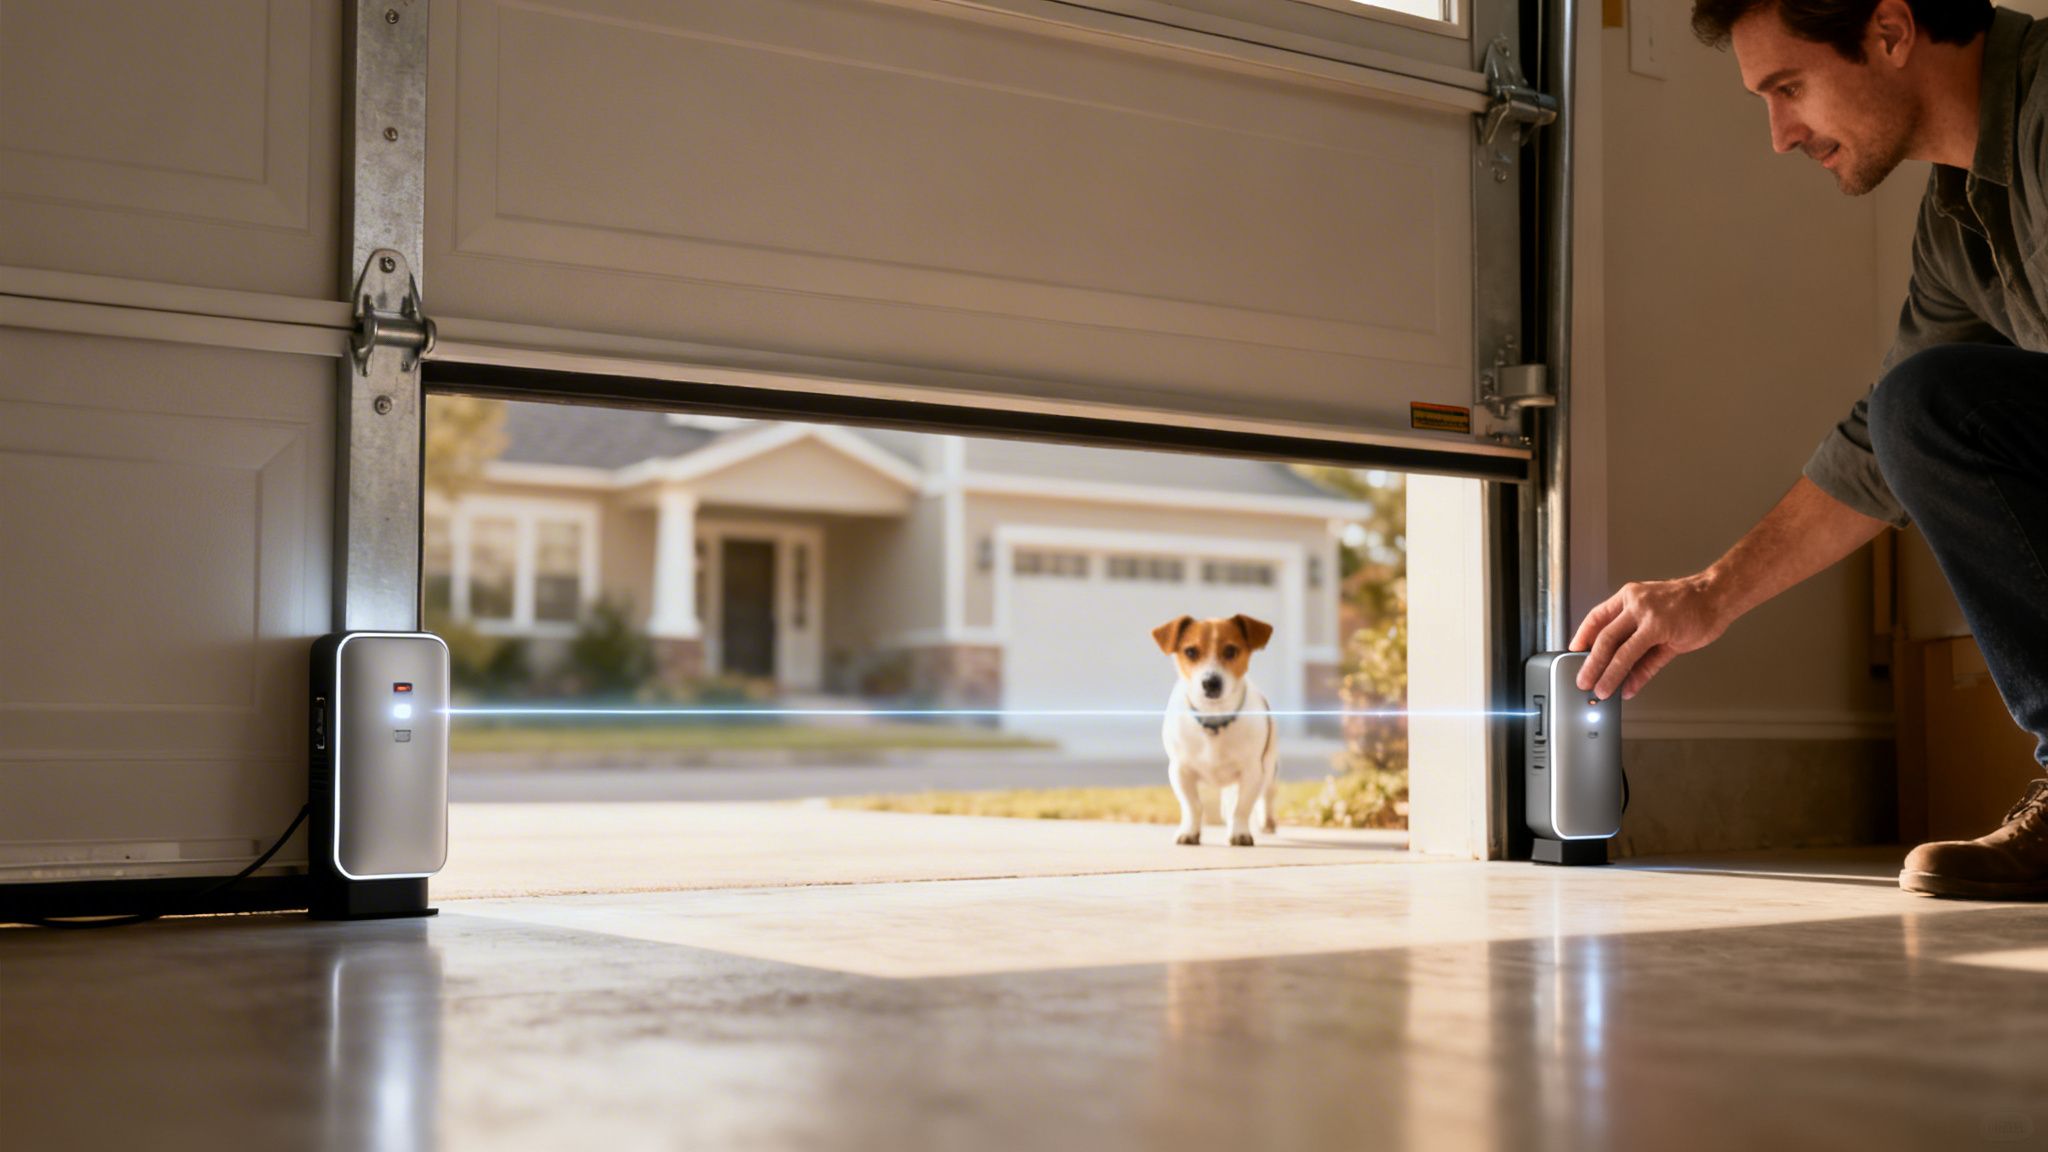
Think of your garage door safety sensors as an invisible, silent guardian. They create a constant, unseen tripwire at the bottom of your garage opening, dedicated to protecting your family, pets, and property from the door's powerful force. This isn't just a nifty feature; it’s a crucial safety system that has been legally required for decades—and for very good reason.
The Invisible Guardians of Your Garage Door
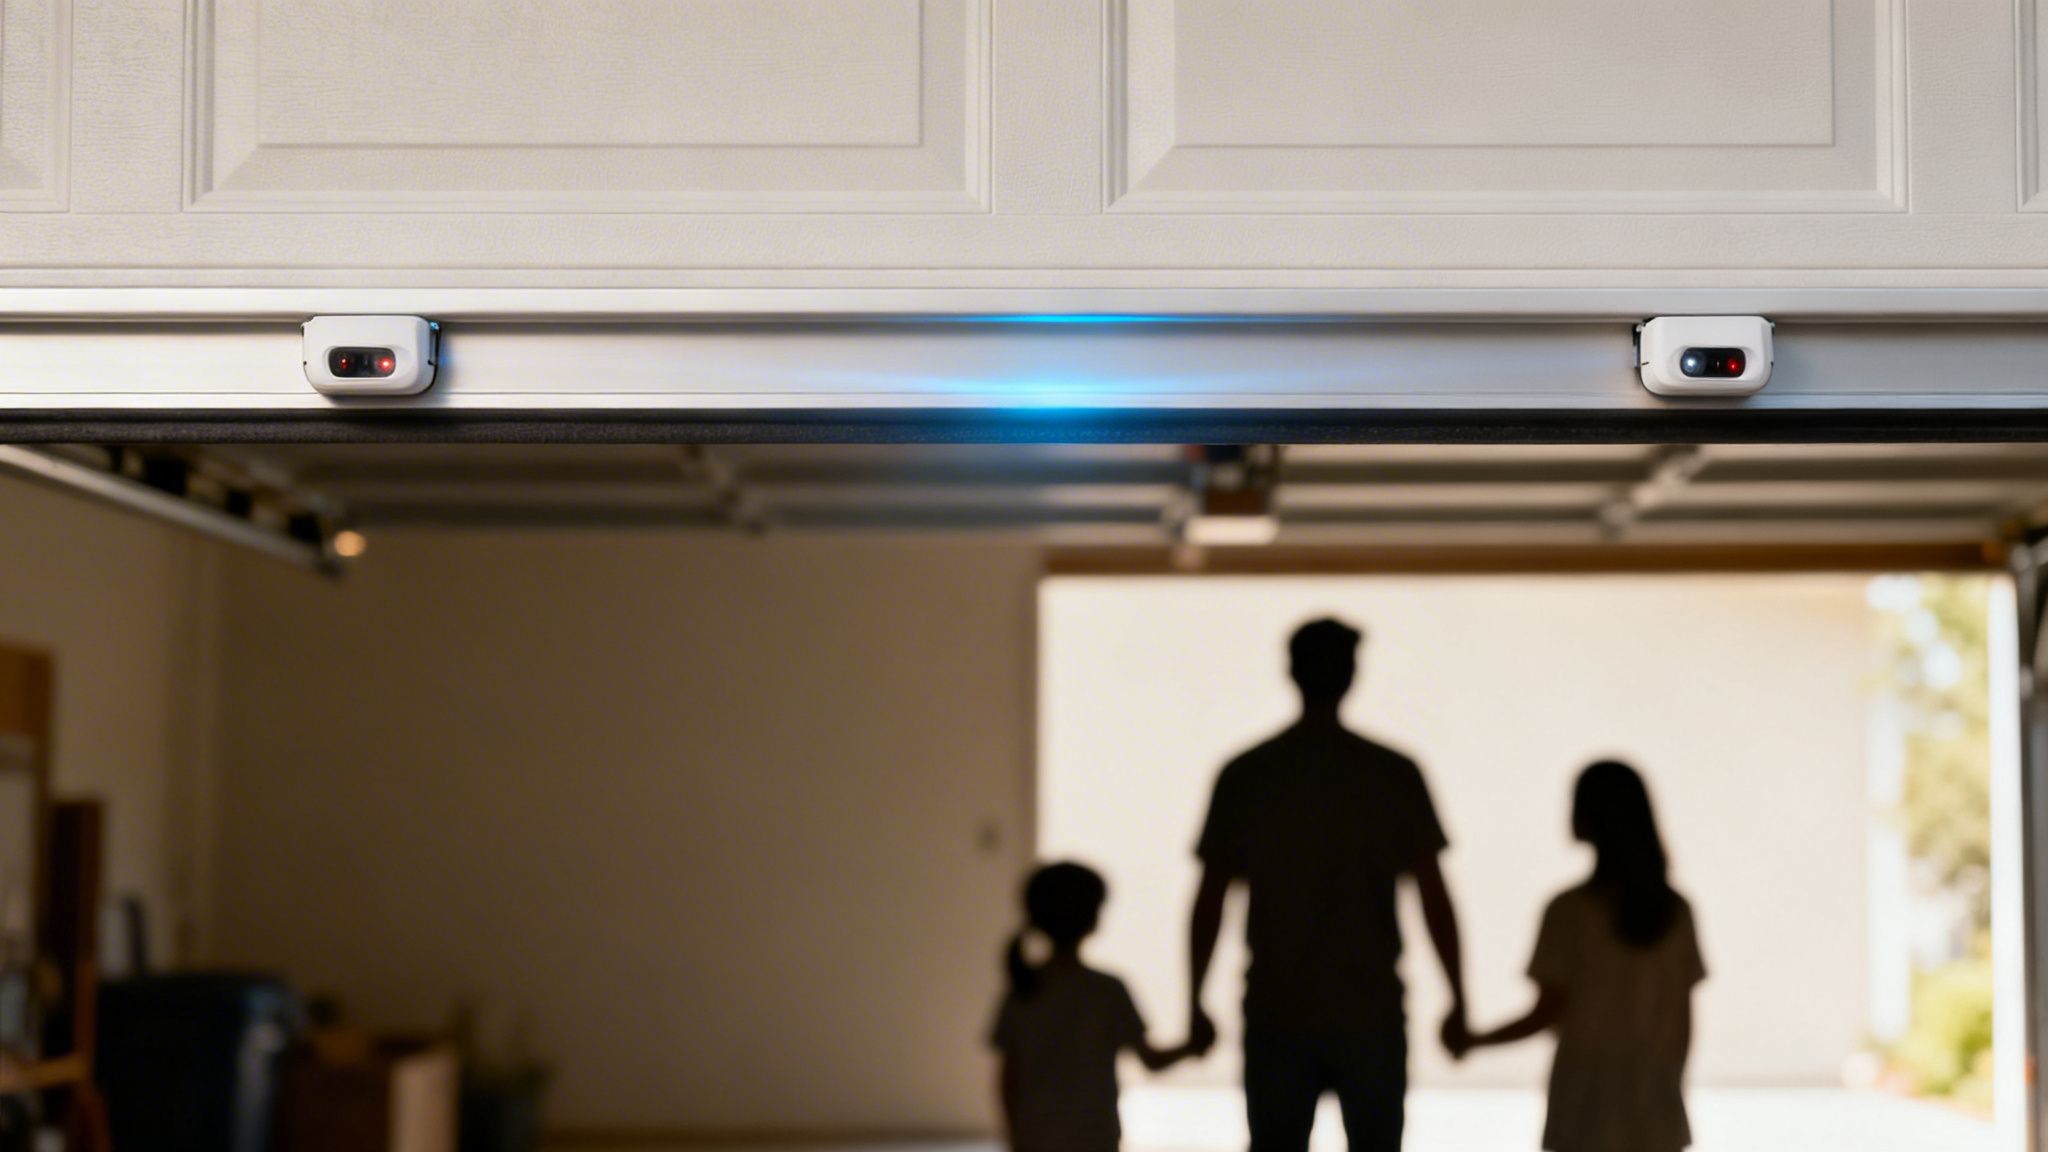
Go ahead and take a look at the bottom of your garage door tracks. You'll spot a pair of small electronic "eyes" facing each other. These are your safety sensors for garage doors, and their whole job is to make sure the path is clear before the door closes. They project an invisible beam of light across the opening, and if anything breaks that beam, the garage door opener gets an immediate command to stop and reverse.
This simple yet brilliant technology became a non-negotiable part of home safety after the UL 325 standard was updated. Since 1993, every new garage door opener sold in the U.S. has been required to include these photo-electric eyes. The impact has been massive, slashing entrapment injuries and fatalities by more than 90%.
Why They Are Not Optional
It’s easy to ignore these little black boxes, but their role in preventing accidents can't be overstated. Before they were mandatory, heavy garage doors posed a serious risk. Today, this system gives you peace of mind every single time you hit that close button.
So, how does it all work? It's surprisingly straightforward:
- One sensor, the sender, shoots a focused beam of infrared light across the garage opening.
- The other sensor, the receiver, is positioned to catch that beam.
- As long as the receiver "sees" the beam, the door operates normally. If anything—a child, a pet, a bike—breaks the connection, the door instantly reverses.
We’ll walk you through everything you need to know to understand, test, and even troubleshoot your sensors. Knowing how to maintain this system ensures your garage stays a safe place for everyone. The basic idea of sending and receiving signals to trigger a response is common in many technologies; you can see similar principles at play in various types of automotive sensors, just applied in a different context.
How Your Garage Door Sensors Actually Work
Ever wonder about those little black boxes on either side of your garage door track? They're not just decorations; they're the unsung heroes of your home's safety, constantly talking to each other to make sure nothing gets in the way. It’s a surprisingly simple, yet incredibly effective, system.
It all boils down to a two-part team: a sending eye and a receiving eye. The sender shoots a narrow, invisible infrared beam across the opening, aiming directly at the receiver on the other side. Think of it as an invisible tripwire that's always on.
The receiving eye's only job is to watch for that beam. As long as it sees the light, it sends a constant "all-clear" signal to your garage door opener. This tells the opener that the path is clear and it's safe to close the door.
The Instant Stop and Reverse Signal
The real genius of this system is what happens when something breaks that beam. A pet dashing out, a stray toy, or a person walking through—the moment the connection is lost, the receiver panics.
It immediately sends an emergency signal to the opener's main logic board, essentially shouting, "STOP! Something's in the way!" The motor instantly reverses course, sending the door right back up. This reaction is lightning-fast and is the single most important safety feature preventing countless accidents every year.
Key Takeaway: Your garage door is designed to be safe by default. It will not close unless it gets that continuous "all clear" from the sensors. If there's any doubt, any interruption, any problem at all, the door stays open.
Other Types of Safety Sensors
The infrared beam is the star player, but it sometimes has a backup. Many modern doors also incorporate a safety edge sensor, which is a pressure-sensitive strip running along the bottom of the door itself.
This acts as a second line of defense. If for some reason the photo-eyes don't detect an object, but the door physically touches something as it closes, the pressure on this rubber strip will also trigger an immediate reversal. As smart home safety becomes more critical, the market for safety edge sensors is expected to hit $281 million by 2025. You can dive deeper into this growth by checking out the full research on the door sensors market.
Diagnosing Common Garage Door Sensor Problems
So, your garage door has decided to be difficult and refuses to close. Before you panic, take a deep breath. Nine times out of ten, the safety sensors are the prime suspect, and the fix is usually something you can handle yourself. The first step is always figuring out exactly what's gone wrong.
This simple flowchart breaks down the basic logic your sensors use every time you hit that button.
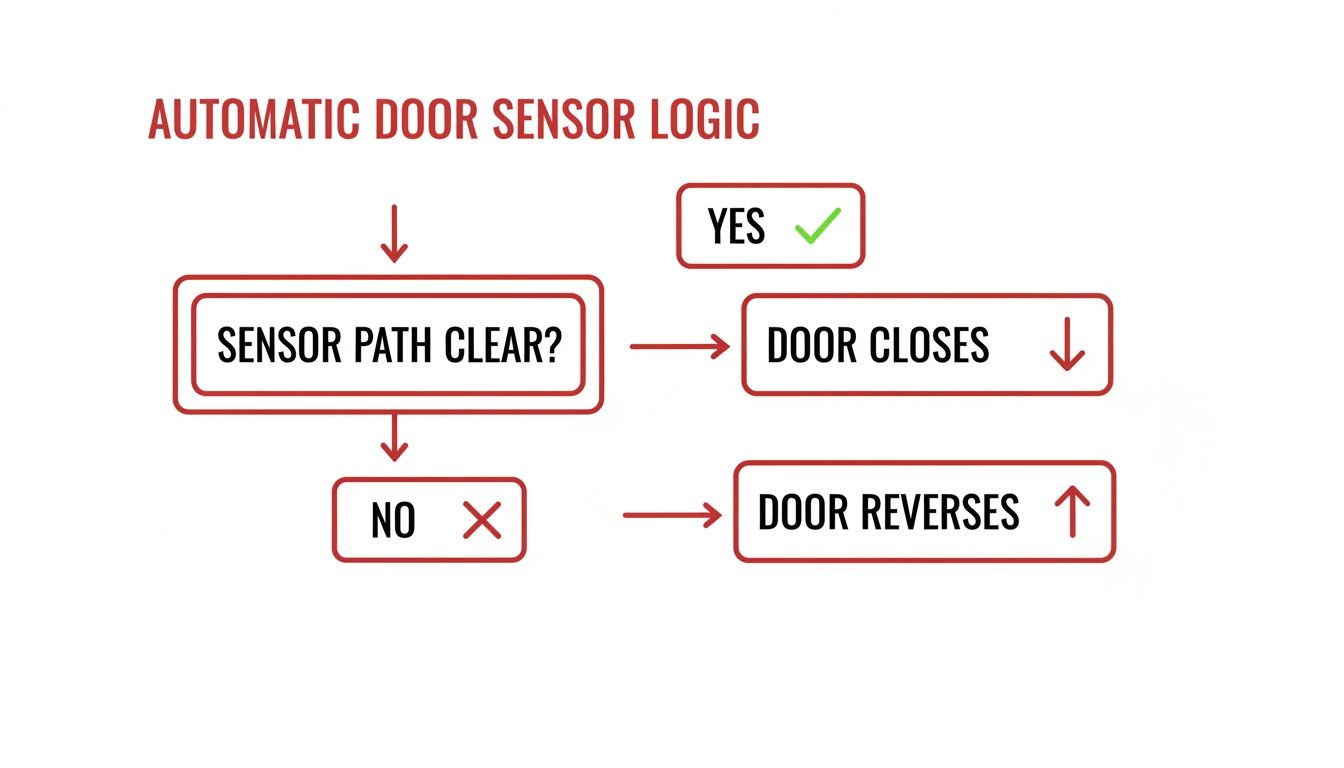
The system is designed to "fail safe"—meaning it will only let the door close if it gets a continuous, uninterrupted "all-clear" signal from the sensors.
Misaligned Sensor Eyes
This is, without a doubt, the most common problem we see. Think of the two sensors as being locked in a constant, invisible handshake across your garage opening. If one gets bumped by a stray basketball, a rake handle, or even the family dog, that handshake is broken.
When the sensors get knocked out of alignment, the infrared beam can't hit its target. Your garage door opener interprets this as an obstruction and immediately reverses the door. A tell-tale sign is a flickering or blinking light on one or both of the sensor units.
Decoding Your Sensor's Indicator Lights
Those little LED lights on your sensors are your best friends for troubleshooting. They aren't just for show; they're diagnostic tools telling you exactly what’s going on. Here's a quick guide to what they mean.
| Sending Sensor Light (Amber) | Receiving Sensor Light (Green) | What It Means | Potential Solution |
|---|---|---|---|
| Solid On | Solid On | Everything is A-OK! The sensors are aligned and working. | None needed. If the door still won't close, the problem is elsewhere. |
| Solid On | Off or Flickering | The sensors are misaligned or something is blocking the beam. | Check for obstructions. Gently adjust the green sensor until the light becomes solid. |
| Off or Flickering | Off | There's a power issue, likely a wiring problem. | Check the wire connections at the sensor and the main opener unit for damage or looseness. |
| Solid On | Dim or Flickering | This could be a weak signal due to dirty lenses or sunlight interference. | Clean the lenses with a soft cloth. If it's sunny, try shading the sensor. |
Understanding these signals can save you a ton of time and get your door working again in minutes.
Dirty or Obstructed Lenses
The "eyes" of your sensors need a crystal-clear view to work right. You'd be surprised how little it takes to block that invisible beam.
A few common culprits include:
- Dust and Grime: A fine layer of dust can build up and disrupt the signal.
- Cobwebs: Spiders seem to love building their homes right in front of sensor lenses.
- Yard Debris: Leaves, snow, or grass clippings can easily blow in and pile up, blocking the view.
Most of the time, a gentle wipe with a soft, dry cloth is all you need. If your garage door will not shut even after a good cleaning, it's time to investigate other potential issues.
Pesky Sunlight Interference
Ever notice your garage door only acts up at a certain time of day, maybe in the early morning or late afternoon? You could be dealing with sunlight interference. If the sun shines directly into the receiving sensor's lens, it can blind it, preventing it from seeing the much weaker infrared beam from its partner across the way.
Wiring and Power Issues
While not as common, wiring problems can definitely throw a wrench in the works. Take a close look at the thin wires running from each sensor back to the main opener unit. You're looking for any obvious signs of damage—a staple that went astray, a frayed section where it got pinched, or a loose connection at either end. These kinds of issues can cause intermittent problems that are incredibly frustrating to track down.
It's also worth noting how other sensors contribute to overall safety. For instance, the market for garage door tilt sensors—which detect if a door is going up crooked—was valued at USD 0.45 billion in 2024. These are critical for stopping a door that has jumped off its track, a dangerous and common problem we see in emergency calls. You can learn more about the growing garage door sensor market on reportsanddata.com and see how technology is constantly improving safety.
The Two-Minute Monthly Sensor Safety Check
Think of this like checking the batteries in your smoke detector. A quick, two-minute test of your garage door sensors each month is one of the smartest and simplest things you can do to keep your home and family safe. It’s a tiny habit that offers huge peace of mind, confirming your door's most important safety feature is ready to go.
You don't need any special tools or technical know-how—just a couple of minutes. By making this a regular part of your routine, you can spot potential issues early, long before they become a real hazard or a major headache.
Your Step-by-Step Safety Routine
Ready to give it a try? The whole thing takes less time than it does to brew a cup of coffee. Just follow these simple steps once a month to make sure your safety sensors for garage doors are working perfectly.
Visual Inspection (30 Seconds): First, just eyeball the two sensor units mounted near the bottom of your door tracks. Each one has a small LED light. The sending sensor usually has an amber or orange light, while the receiving sensor should have a solid green light. If that green light is off or flickering, it’s a red flag for an alignment or power problem that needs to be addressed. While you're down there, wipe away any dust, cobwebs, or gunk blocking the lenses.
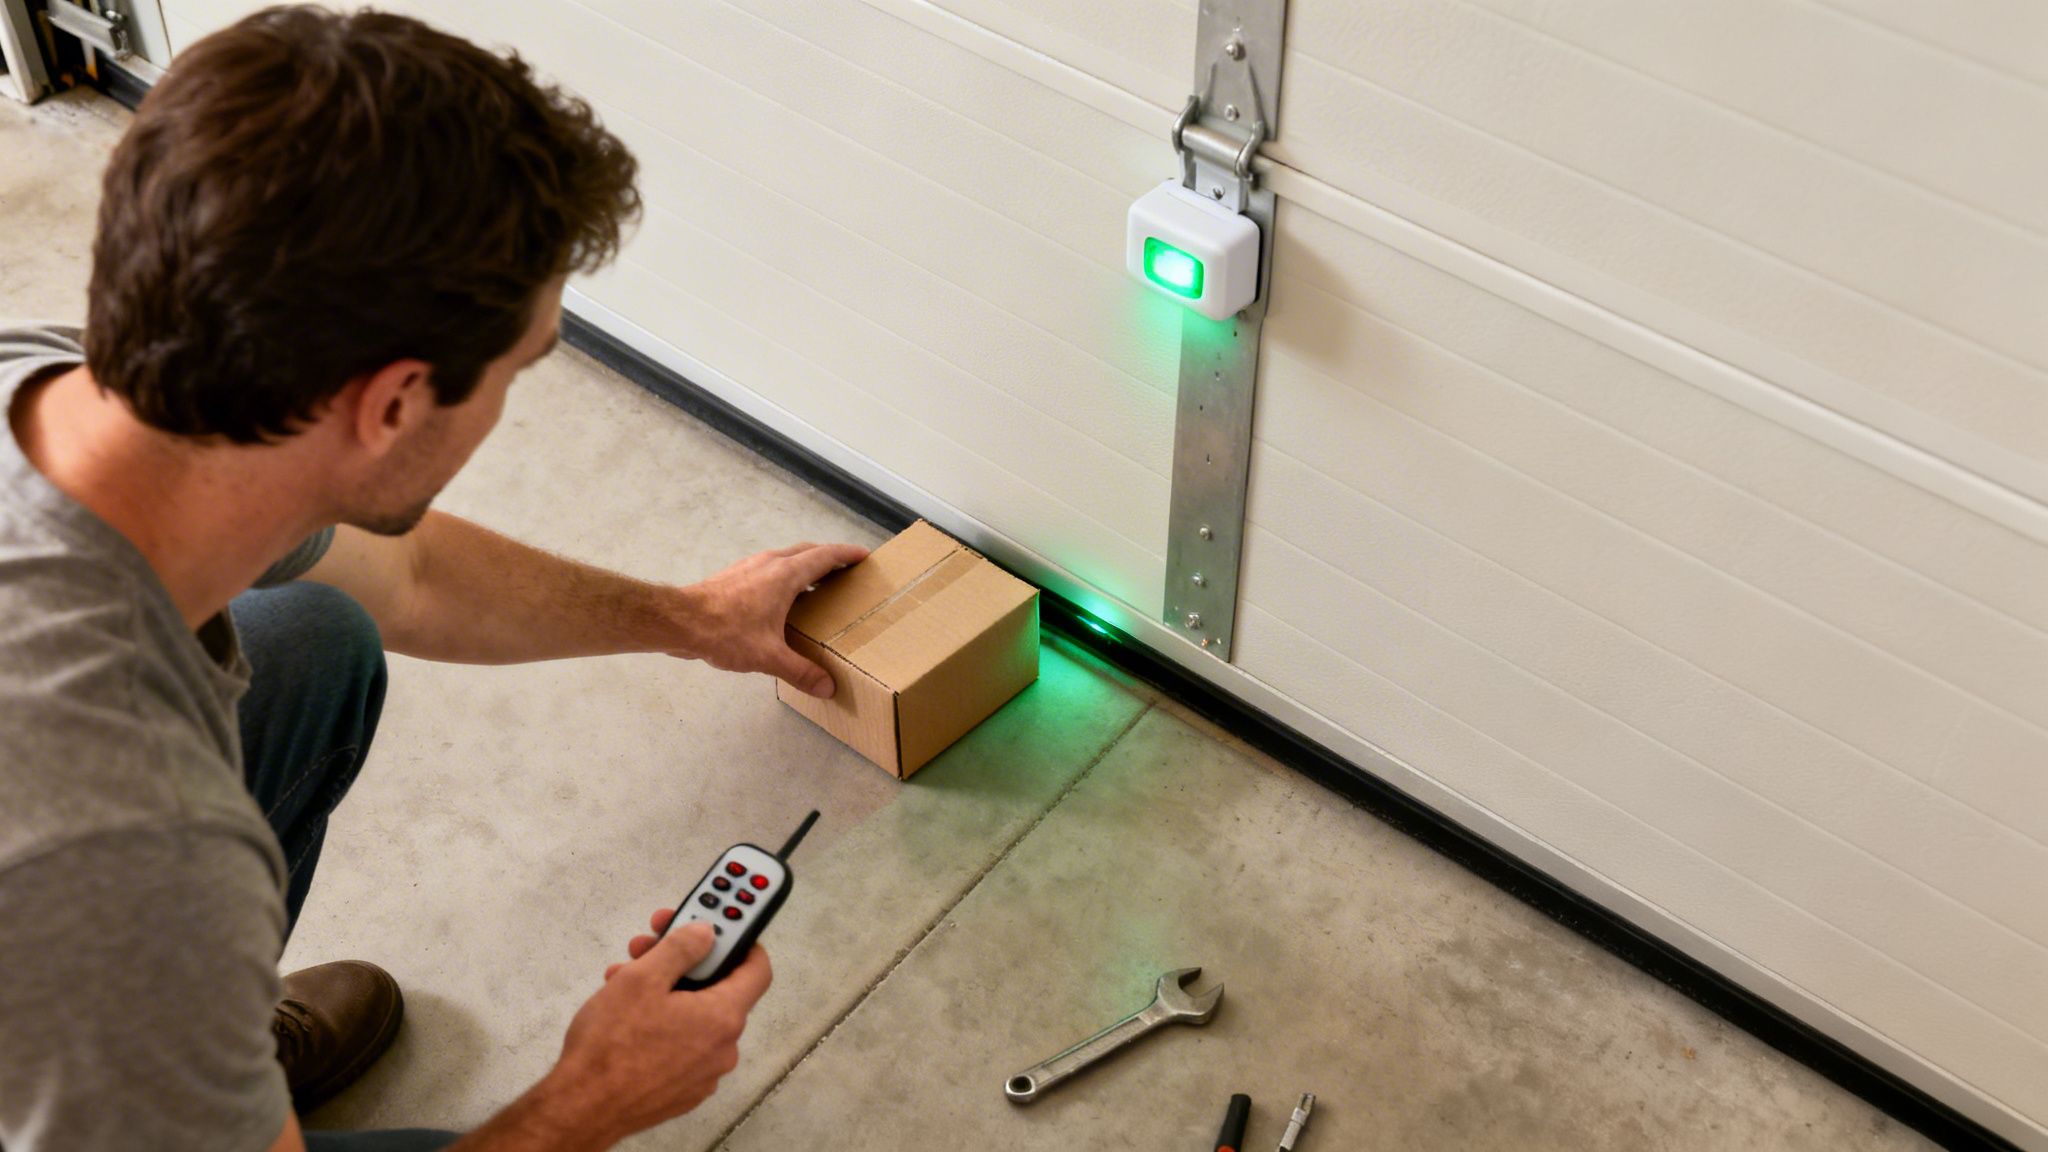
The Obstruction Test (90 Seconds): This is the make-or-break part of the check. Start with the garage door fully open, then hit your remote or wall button to close it. As the door starts its journey down, just slide an object like a cardboard box or a roll of paper towels into the sensor's path.
The instant your object breaks that invisible beam, the garage door should immediately stop, then reverse direction and head back up to the fully open position.
If that’s what happens, great! Your sensors are doing their job perfectly. If the door doesn't reverse and keeps closing, stop the test immediately. This is a serious safety failure, and the door shouldn't be used until it's professionally repaired.
For a more in-depth look, you can learn more about how to properly test garage door sensors in our complete guide. Don't put it off—this small check is a big investment in your family's safety.
Simple DIY Fixes You Can Safely Perform
So, your garage door is acting up. Before you start thinking about expensive repairs, let's look at a few common issues you can probably fix yourself in just a few minutes. Most of the time, the problem lies with the safety sensors for garage doors, and the solution doesn't require any special tools.
We're going to stick to the basics here—simple, safe adjustments aimed at solving the problem without creating a bigger one. Let’s get your door working again.
Cleaning the Sensor Lenses
First things first, let's clean the sensor "eyes." It's amazing how often this is the culprit. Dust, dirt, cobwebs, and even condensation can build up on the lenses, blocking the infrared beam and tricking the system into thinking something is in the way.
- Grab a soft, dry cloth. A microfiber towel is perfect for this.
- Gently wipe the lens on both the sending and receiving sensors.
- Don't use any harsh chemicals or abrasive cleaners. You could easily scratch or permanently damage the lens.
This simple wipe-down often gets things running smoothly right away. A clear lens means a clear path for the beam.
Realigning the Sensors
Misalignment is, without a doubt, the number one reason garage door sensors fail. A little bump from a trash can, a stray basketball, or even just vibrations over time can knock one of the sensors out of position, breaking the beam's connection. Thankfully, getting them back in sync is pretty straightforward.
Pro Tip: The little LED lights on your sensors are your best friend here. The goal is to get a solid, steady green light on the receiving sensor. If that light is flickering or completely off, you're not aligned.
Here’s the simple process:
- Inspect the Brackets: First, just look at the metal brackets holding the sensors. If one is obviously bent, carefully bend it back into place so it's pointing straight across the opening to its partner. Check that the wing nuts holding the sensor are snug but not cranked down too tight.
- Make Small Adjustments: Loosen the wing nut on the receiving sensor (the one that should be green) just enough that you can move it with your hand.
- Watch the Light: Slowly and carefully pivot the sensor up, down, left, and right. Keep your eye on that green LED. You’ll see it start to flicker as you get close to the sweet spot.
- Lock It In: The moment you find the position where the green light is bright and solid, hold it steady and tighten the wing nut to secure it.
If you want a more detailed walkthrough with pictures, check out our full guide on how to align garage door sensors.
What You Should Never Do
While these fixes are safe for any homeowner, it’s crucial to know where to draw the line. Your safety is always the priority. Do not attempt any of the following:
- Cut or Splice Wires: Frayed or damaged wiring is a job for a professional, period. Messing with the electrical system can fry your opener's circuit board or create a serious fire or shock hazard.
- Bypass the Sensors: Never, ever disconnect or disable your safety sensors. They are a federally mandated safety feature for a reason. Bypassing them puts your family, pets, and property in real danger.
- Perform Complex Electrical Repairs: If you trace the problem back to the opener unit itself—like the logic board or internal connections—it's time to stop. That’s a clear sign to call in a professional.
Knowing When It’s Time to Call a Professional
Let’s be honest, tackling a home repair yourself feels great. Many sensor issues really are simple enough for a quick DIY fix. But it's just as important to know when to put the tools down and call in someone with experience.
Pushing your luck with garage door repairs can sometimes make a small problem much worse, or even create a genuine safety risk. When it comes to something that protects your family and property, some jobs are simply best left to the pros.
If you’ve already cleaned the lenses, carefully checked the alignment, and made sure nothing is blocking the beam, but the door still won't close, it’s a big hint that something more serious is going on. These stubborn issues often point to deeper problems, like faulty wiring or a complete failure inside one of the sensors.
Red Flags That Mean It's Time for an Expert
Some warning signs are too big to ignore. If you run into any of these issues, it's time to stop troubleshooting and pick up the phone.
- Flickering Lights That Won’t Settle Down: You’ve realigned the sensors over and over, but the little LED lights just keep blinking or refuse to stay solid. This usually points to a more complicated power or wiring problem.
- Visible Damage to the Wires: See any frayed, pinched, or chewed-up wires? Stop immediately. Damaged wiring is an electrical hazard and needs a professional to be repaired safely.
- The Door Has a Mind of Its Own: If the door starts reversing for no apparent reason or only works once in a while, it’s hard to know if the problem is the sensors, the opener's logic board, or something else entirely. A technician can diagnose it correctly.
- You're Just Not Comfortable: If you feel like you’re in over your head, that’s the best reason of all to call an expert. There's no shame in it! A professional repair guarantees the job is done right and, most importantly, safely.
A professional technician doesn't just slap a bandage on the problem. They use specialized diagnostic tools to find the root cause, making sure the fix is safe, correct, and follows all local safety standards. When you're dealing with the critical mechanisms of safety sensors for garage doors, calling an expert is the smart move for long-term peace of mind.
Garage Door Sensor FAQs
Still have a few questions? That's completely understandable. Here are some quick, straightforward answers to the most common things homeowners ask us about their safety sensors.
How Much Does It Cost to Replace Garage Door Sensors?
If it turns out you need a full replacement, you can typically expect the job to cost between $120 and $200 when done by a pro. That price usually covers the new pair of sensors and the skilled labor to get them installed just right. A technician makes sure they’re wired correctly and perfectly aligned, so your door operates safely every time.
Are All Garage Door Safety Sensors Universal?
That’s a great question, and the answer is no, they aren't. Safety sensors are designed to be brand-specific, meaning they have to be compatible with your particular garage door opener. For instance, a LiftMaster sensor simply won't communicate with a Genie opener. Mixing and matching parts is a recipe for system failure, so it’s critical to use the correct sensors for your unit.
Expert Tip: Always stick with the manufacturer-recommended sensors for your opener. This is the only way to guarantee your door works reliably and, more importantly, safely, keeping you in line with UL 325 standards.
Why Do My Sensors Act Up in Certain Weather?
Weather can definitely be a factor. On a really bright day, direct sunlight can hit the receiving sensor at just the right angle, effectively "blinding" it from seeing the infrared beam. On the flip side, very cold or damp conditions can lead to condensation or even a thin layer of frost on the lenses, which the system reads as an obstruction.
If you've tried all the troubleshooting tips and your garage door is still causing headaches, don't wait. We offer fast, reliable service to make sure your home is safe and secure. Get a free estimate today!